2. Setting Up the Development Environment
2.1. Android Studio
[Android Studio] can be downloaded for free at https://developer.android.com/studio. When you launch it for the first time, the wizard offers a standard installation: accept it, and it will download SDK [Android] (the libraries and tools needed to compile an app) and the emulator.
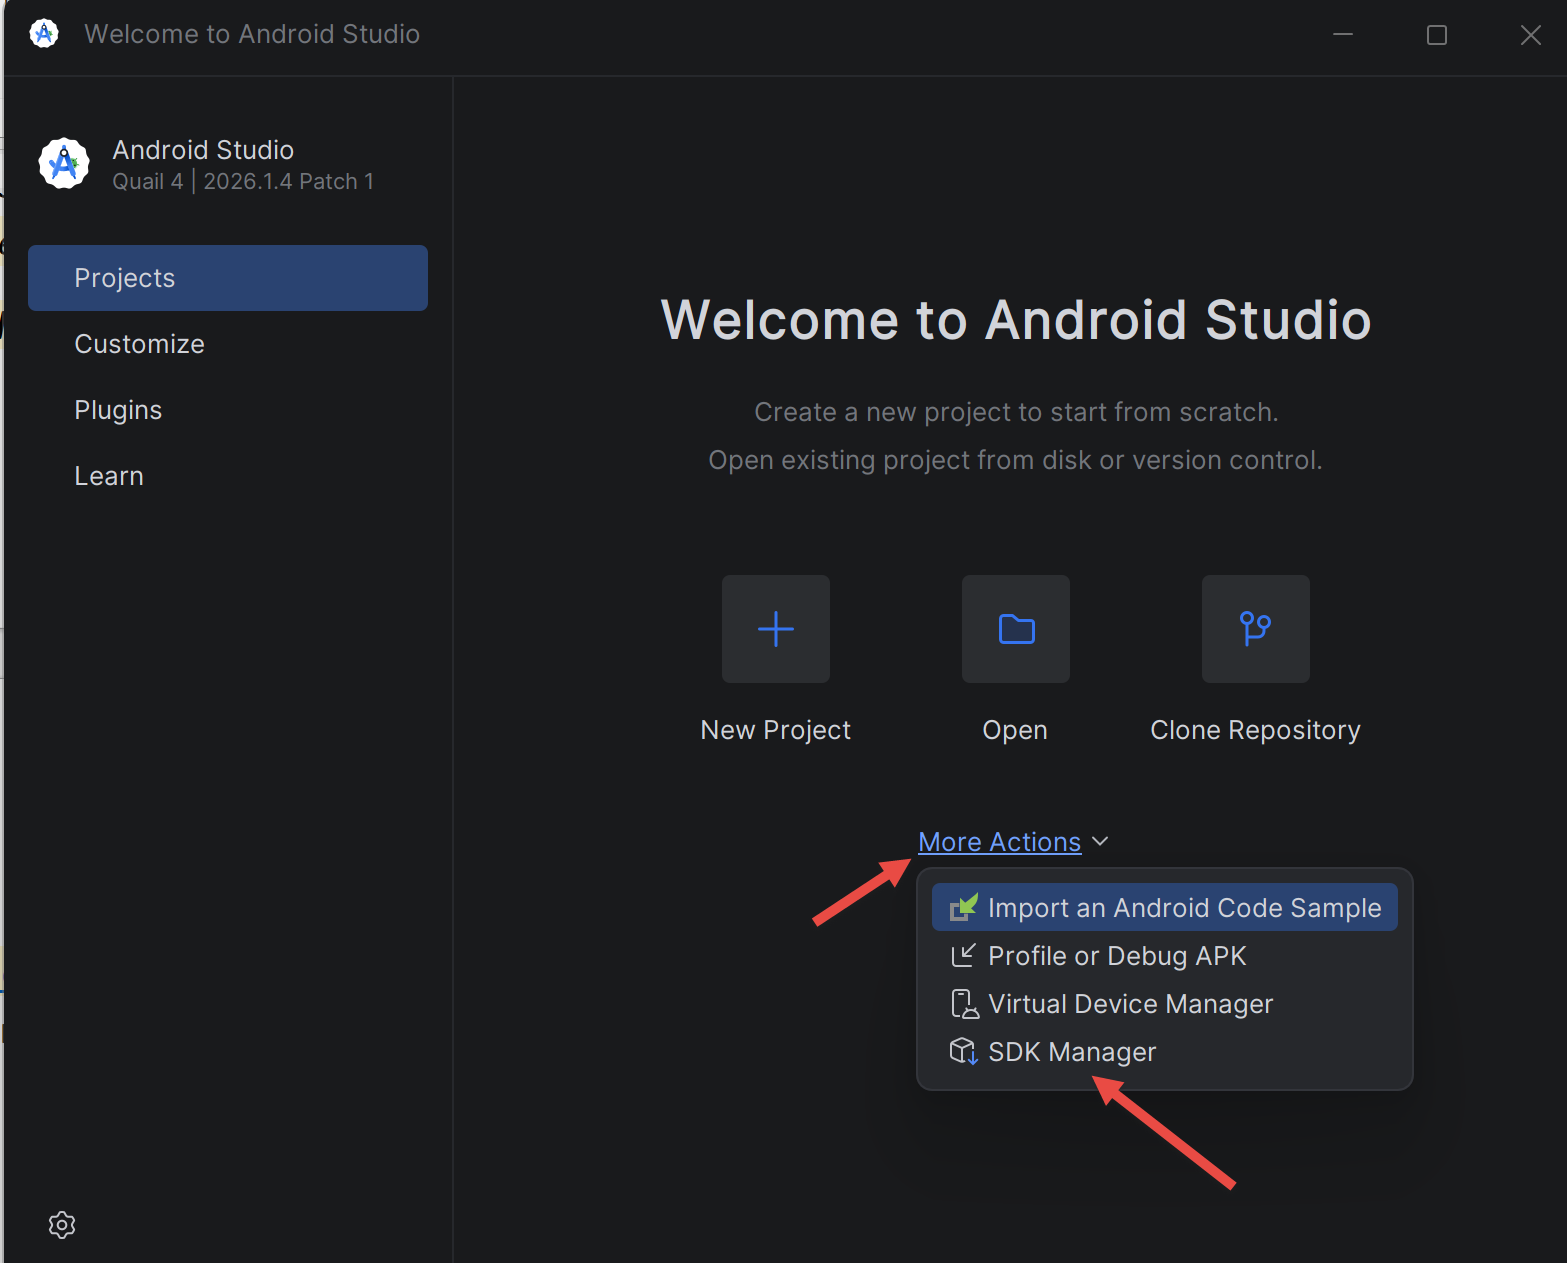
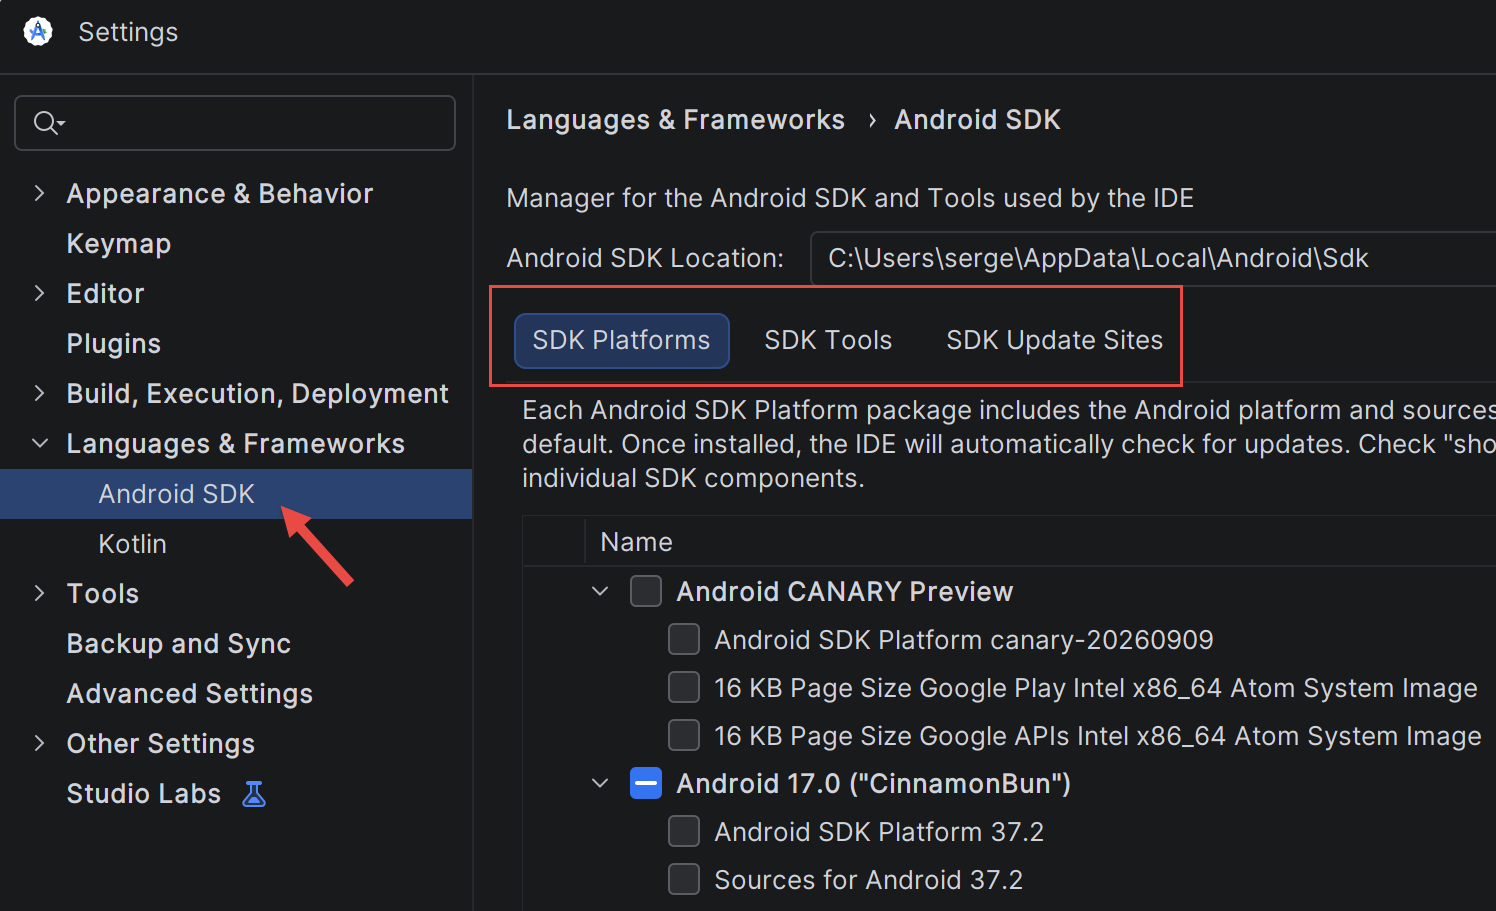
The [SDK Manager] ([Tools / SDK Manager], or [More Actions / SDK Manager] from the home screen) installs and updates the components of the SDK. [SDK Platforms] tab: a recent [Android] platform (API 37 for this course, the [compileSdk] setting for projects); [SDK Tools] tab: [Android SDK Build-Tools], [Android SDK Platform-Tools] (which contains [adb]), and [Android Emulator].
[Android Studio] also installs its own JDK, [JBR] ([JetBrains Runtime], within [C:\Program Files\Android\Android Studio\jbr]): it is this one that executes [Gradle]. To compile a project outside of [Android Studio] from the command line, simply specify this JDK and SDK:
- [gradlew.bat] (“Gradle wrapper”): a small launcher, included with each project, that downloads the version of [Gradle] required by the project (file [gradle/wrapper/gradle-wrapper.properties]) as needed;
- [installDebug]: compiles the application (debug version) and installs it on the connected device. [assembleDebug] compiles it only, in [app/build/outputs/apk/debug/app-debug.apk].
2.2. Set up an Android emulator
If you don't have a phone, you can test the app on an emulator: a virtual phone that runs in a window on your computer. Prerequisites: Virtualization must be enabled in BIOS, and under [Windows], the [Windows Hypervisor Platform] feature must be checked. Create the virtual device in [Device Manager] ([Tools / Device Manager]): [Create Device], a template (for example, [Pixel 8]), and a recent system image for the [x86_64] processor, and [Finish].
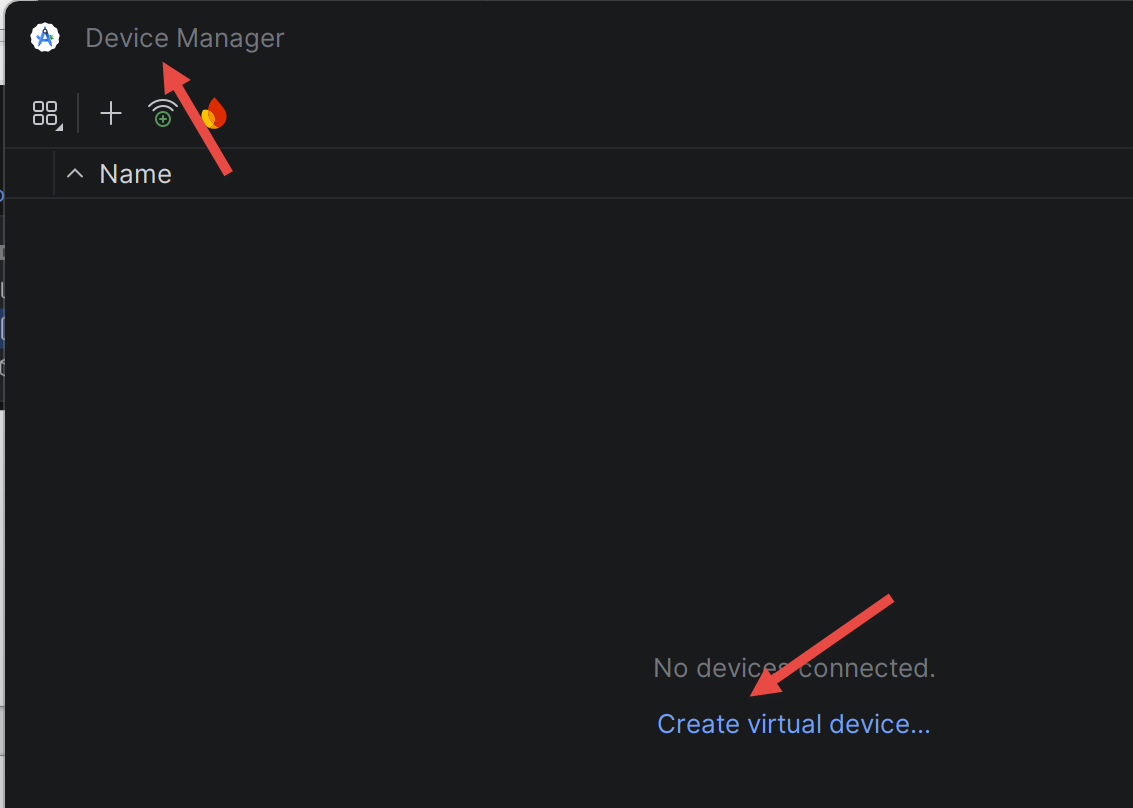
The [Play] button on the [Device Manager] launches the emulator. We then verify that [adb] (the tool that connects the computer to the device, in [%LOCALAPPDATA%\Android\Sdk\platform-tools]) detects it:
If the device is listed as [offline], wait for the startup process to complete, or restart [adb] ([adb kill-server] followed by [adb start-server]).
2.3. Prepare the Android phone
To run the app on a real phone, the phone must be set to allow control from the computer:
- enable developer options: [Settings / About phone], tap [Build number] seven times;
- enable [USB debugging] in [Developer options];
- Connect the phone using a USB cable that transfers data, and accept the authorization request on the phone;
- verify that [adb devices] displays the phone.
In [Android Studio], the device drop-down list next to the [Run] button will then display the emulator and the phone.
2.4. Create a project
A project named [Compose] is created in [Android Studio] by [File / New / New Project], using the [Empty Activity] template: a name ([Name]), an application ID ([Package name], for example [fr.stahe.examples], written backward like a domain name: two applications installed on the same phone must have different IDs), and the configuration language [Kotlin DSL]. The wizard generates a complete, ready-to-run app. The sample project was created this way and then completed manually; its configuration files are shown in Example 01.