8. Install and use a ODBC driver for [Firebird]
8.1. Install the driver
There are many databases on the market. To standardize database access under MS Windows, Microsoft has developed an interface called ODBC (Open DataBase Connectivity). This layer hides the specific features of each database behind a standard interface. There are many MS drivers available for Windows that facilitate database access. Here are, for example, some of the ODBC drivers installed on a Windows machine XP:
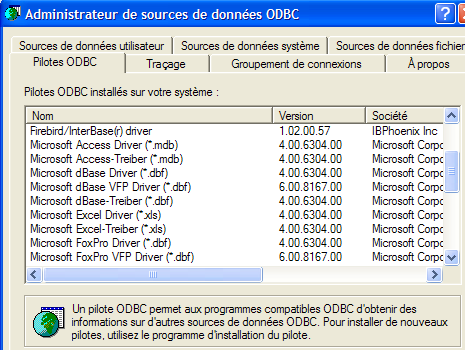
An application relying on these drivers can use any database without rewriting. The ODBC driver acts as an intermediary between the application and the SGBD. The application <-> ODBC driver interface is standard. If you switch from SGBD, you then install the ODBC driver for the new SGBD, and the application remains unchanged.
 |
The [firebird-odbc-provider] link on the [Firebird] download page (section 2.1) provides access to a ODBC driver. Once installed, it appears in the list of installed ODBC drivers.
8.2. Create a ODBC source
- Run the [Démarrer -> Paramètres -> Outil de configuration -> Outils d'administration -> Sources de données ODBC] tool:

- the following window appears:
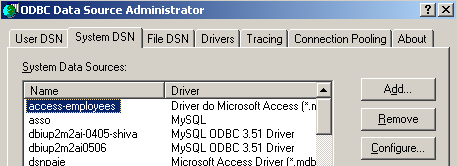
- Add [Add] as a new system data source ([System DSN] panel), which we will associate with the Firebird database [dbarticles] that we created in section 2.3:
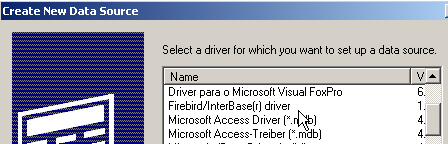
- First, we need to specify the driver to use. Above, we select the driver for Firebird and then proceed. The Firebird driver wizard then takes over:
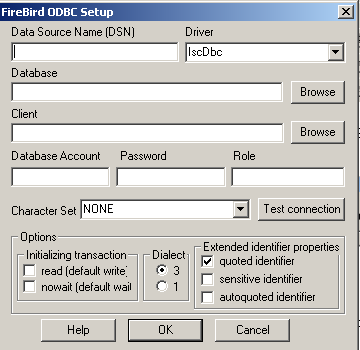
- We fill in the various fields:
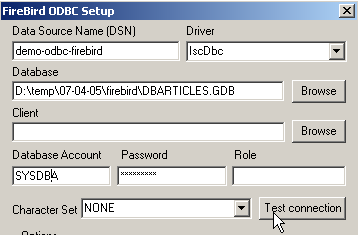
The name DSN of the source ODBC—can be anything | |
the name of the Firebird database to be used—use [Browse] to specify the corresponding .gbd file. Here we are using the [dbarticles] article database created on page 8. | |
username to use to connect to the database | |
The password associated with this username |
The [Test connection] button allows you to verify the validity of the information you have entered. Before using it, run SGBD and [Firebird]:
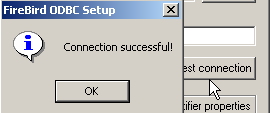
- Validate the ODBC wizard by running [OK] as many times as necessary
8.3. Test the ODBC source
There are various ways to verify that a source is working properly. Here, we will use Excel:
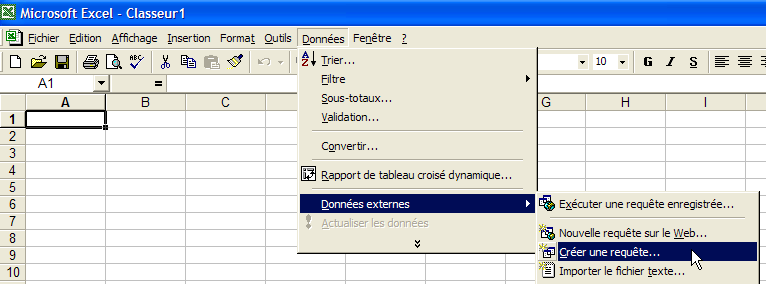
- Let’s use the option [Données -> Données externes -> Créer une requête] source above. We see the first window of a data source definition wizard. The [Bases de données] pane lists the ODBC sources currently defined on the machine:
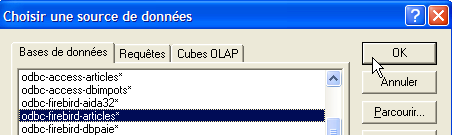
- Let’s select the ODBC [odbc-firebird-articles] source we just created and proceed to the next step with [OK]:
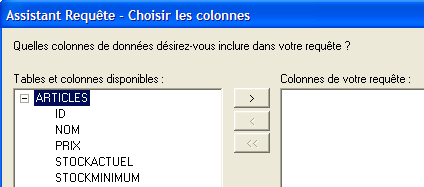
- This window lists the tables and columns available in the ODBC source. We select the entire table:
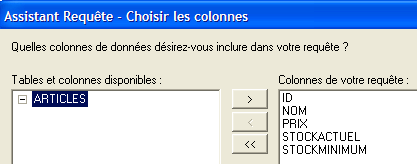
- Let’s move on to the next step with [Suivant]:
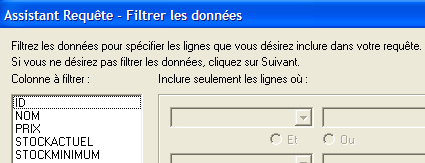
- This step allows us to filter the data. Here, we do not filter anything and move on to the next step:
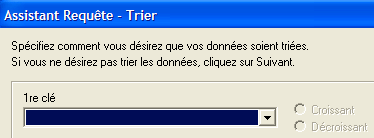
- This step allows us to sort the data. We do not do this and move on to the next step:
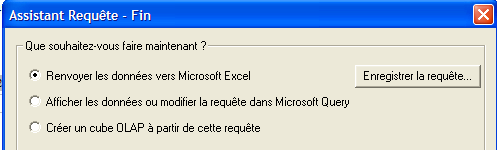
- The final step asks what we want to do with the data. Here, we export it to Excel:
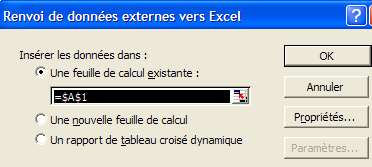
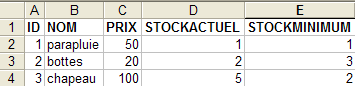
- Here, Excel asks where we want to place the retrieved data. We place it in the active sheet starting from cell A1. The data is then retrieved in the Excel sheet:
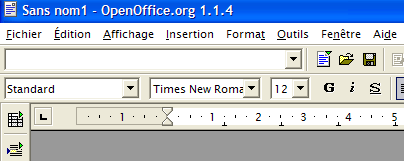
There are other ways to test the validity of a ODBC source. For example, you can use the free OpenOffice suite available at url [http://www.openoffice.org]. Here is an example with a OpenOffice text:
 | 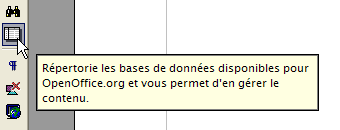 |
- An icon on the left side of the OpenOffice window provides access to data sources. The interface then changes to display a data source management area:
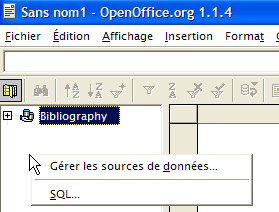
- A data source is predefined: the [Bibliography] source. Right-clicking on the data sources area allows us to create a new one using the option [Gérer les sources de données]:
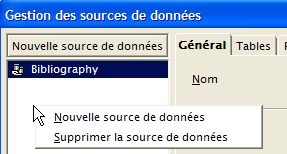
- A [Gestion des sources de données] wizard allows you to create data sources. Right-clicking on the data sources area allows you to create a new one with option and [Nouvelle source de données]:
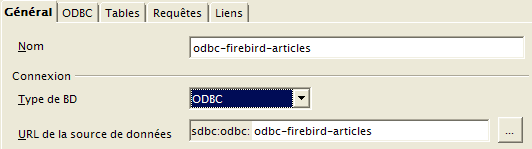
Any name. Here we have used the name of the source ODBC | |
OpenOffice can handle different types of BD via JDBC, ODBC, or directly (MySQL, Dbase, ...). For our example, you must select ODBC | |
The button to the right of the input field gives us access to the list of ODBC sources on the machine. We select the [odbc-firebird-articles] source |
- We move to the [ODBC] panel to define the user under whose identity the connection will be made:
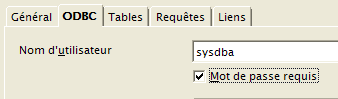
the owner of the source ODBC |
- We move to the [Tables] panel. The password is requested. Here it is [masterkey]:
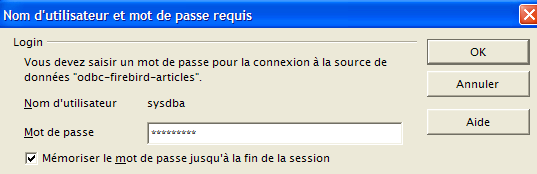
- enter [OK]. The list of tables from the source ODBC is then displayed:
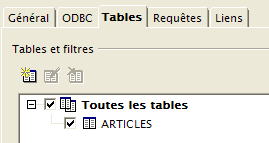
- You can define which tables will be included in the document [OpenOffice]. Here, we select the table [ARTICLES] and enter [OK]. The data source definition is complete. It then appears in the list of data sources for the active document:
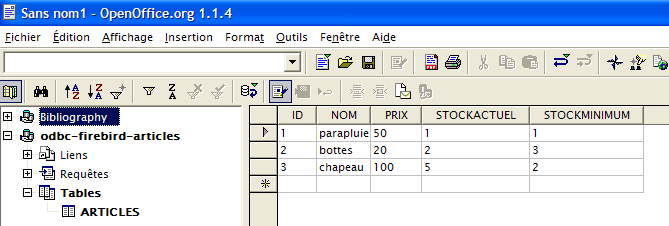
- You can use the mouse to drag the table [ARTICLES] above into the text [OpenOffice].
8.4. Microsoft Query
Although MS Query is included with MS Office, there isn’t always a shortcut to this program. It can be found in the Office folder of MS Office under the name MSQRY32.EXE. For example, "C:\Program Files\Office 2000\Office\MSQRY32.EXE". MS Query allows you to query any ODBC data source using SQL queries. These can be built graphically or typed directly on the keyboard. Since most Windows databases provide ODBC drivers, they can all be queried using MS Query. When MS Query is launched, the following screen appears:
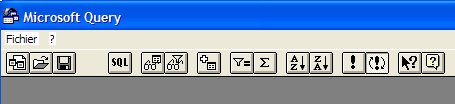
First, we need to specify the data source ODBC that will be queried. To do this, we use option: File/New:
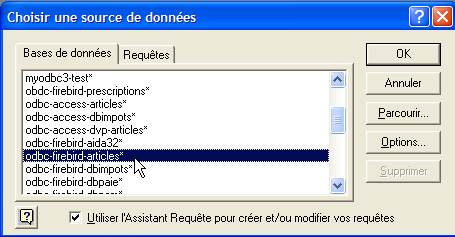
We will use the ODBC source created earlier. MS Query then displays the structure of the source:
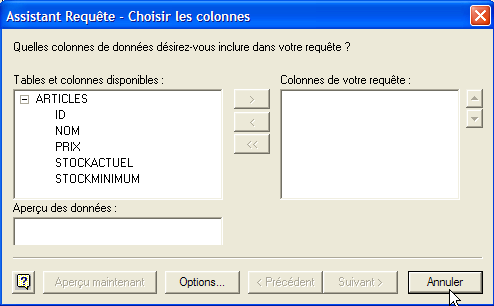
We use the [Annuler] button because the wizard provided is of little use if you are familiar with the SQL language. We can issue SQL queries on the selected source ODBC using option and [Fichier / Exécuter SQL]:
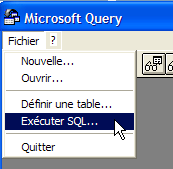 | 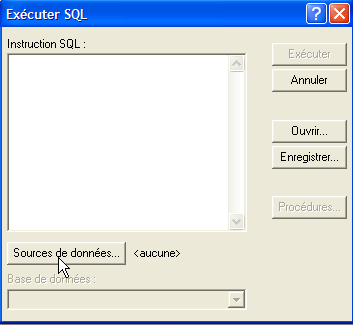 |
We are then prompted to select the source ODBC:
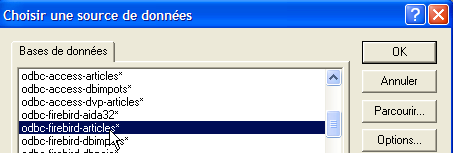
Once the source ODBC is selected, we can issue SQL commands on it:
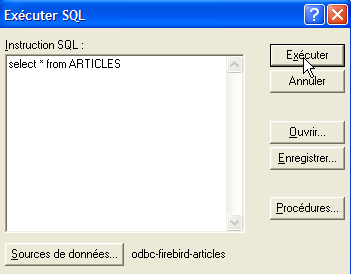
We obtain the following result:
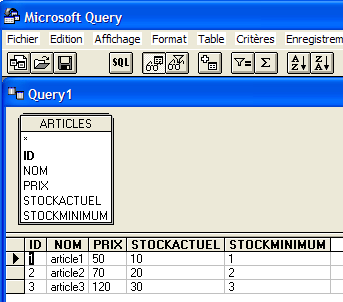
The reader is invited to create a source ODBC using the Firebird database DBBIBLIO and to run the previous examples again.