6. Appendices
Here we explain how to install the tools used in this document on Windows 7 machines.
6.1. Installing STS (Spring Tool Suite)
We will install SpringSource Tool Suite [http://www.springsource.com/developer/sts], an Eclipse environment pre-equipped with numerous plugins related to the Spring framework and also with a pre-installed Maven configuration.
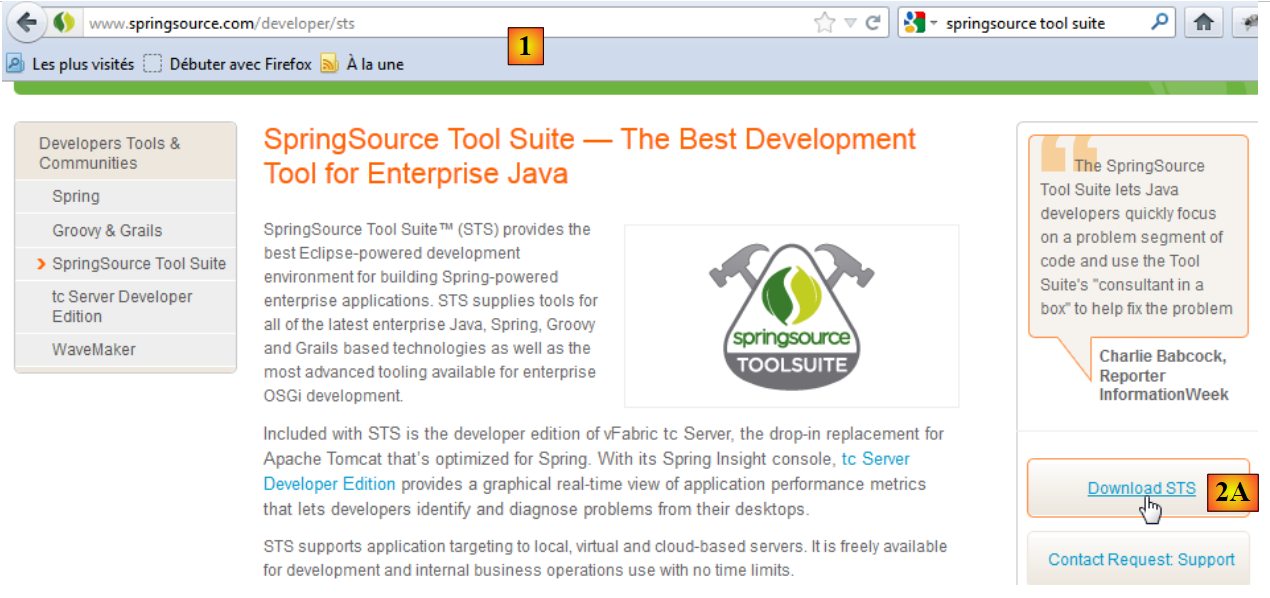 |
- Go to the SpringSource Tool Suite (STS) website [1], to download the latest version of version (STS, [2A], [2B]),
 |
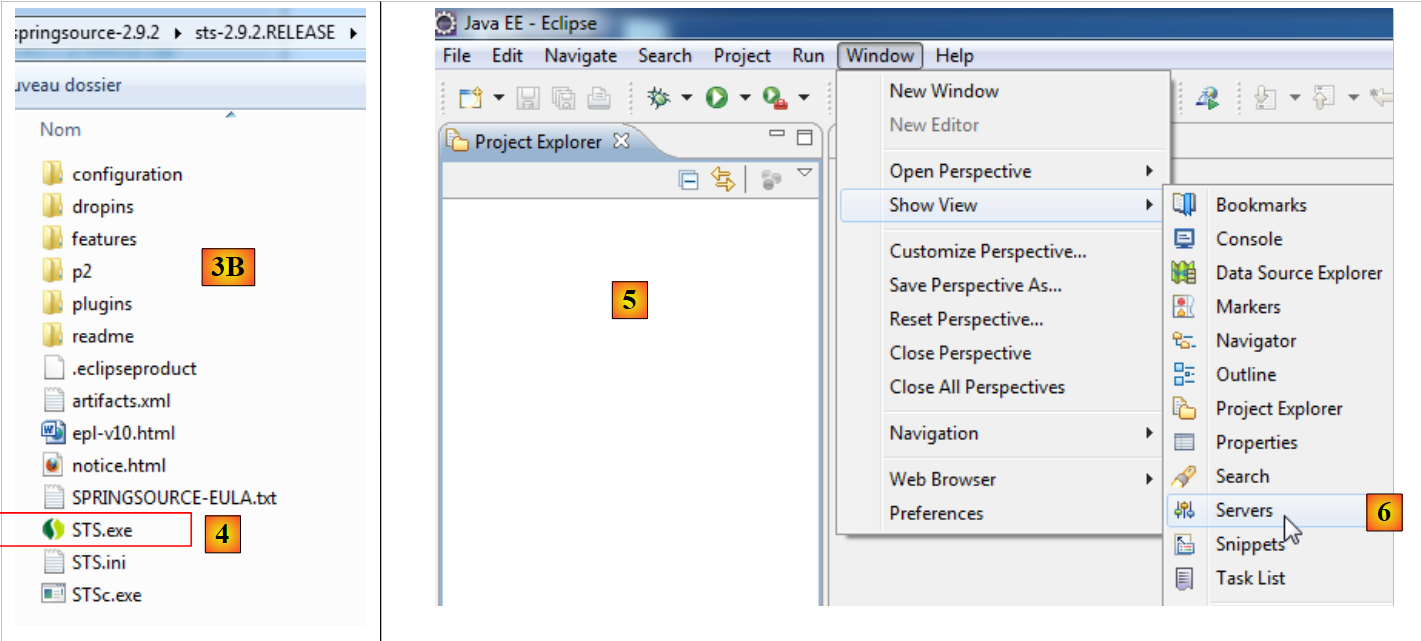 |
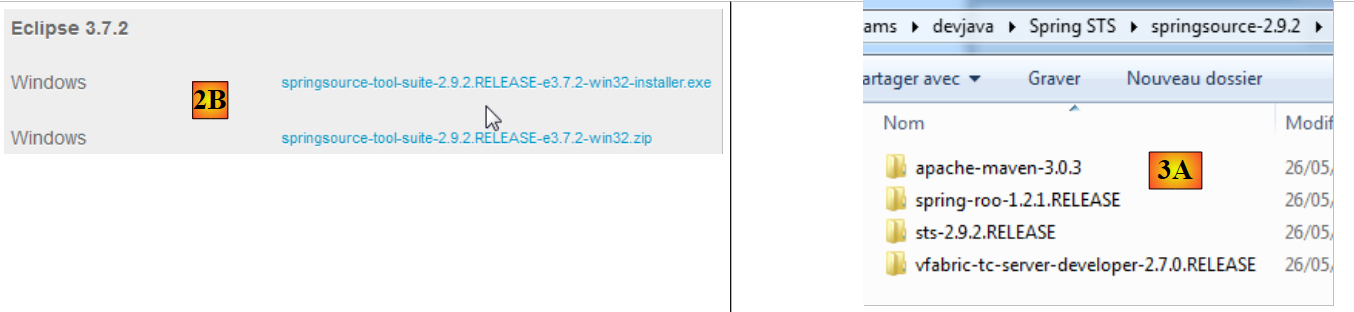
- the downloaded file is an installer that creates the [3A] [3B] file tree. In [4], launch the executable,
- in [5], the IDE work window appears after closing the welcome window. In [6], the application servers window is displayed,
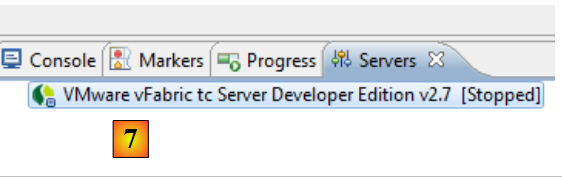 |
- in [7], the servers window. A server is registered. It is a Tomcat-compatible VMware server.
The use of STS within the application is explained in section 1.3.2.
6.2. Installing [WampServer]
[WampServer] is a software package for developing on PHP / MySQL / Apache on a Windows machine. We will use it only for SGBD and MySQL.
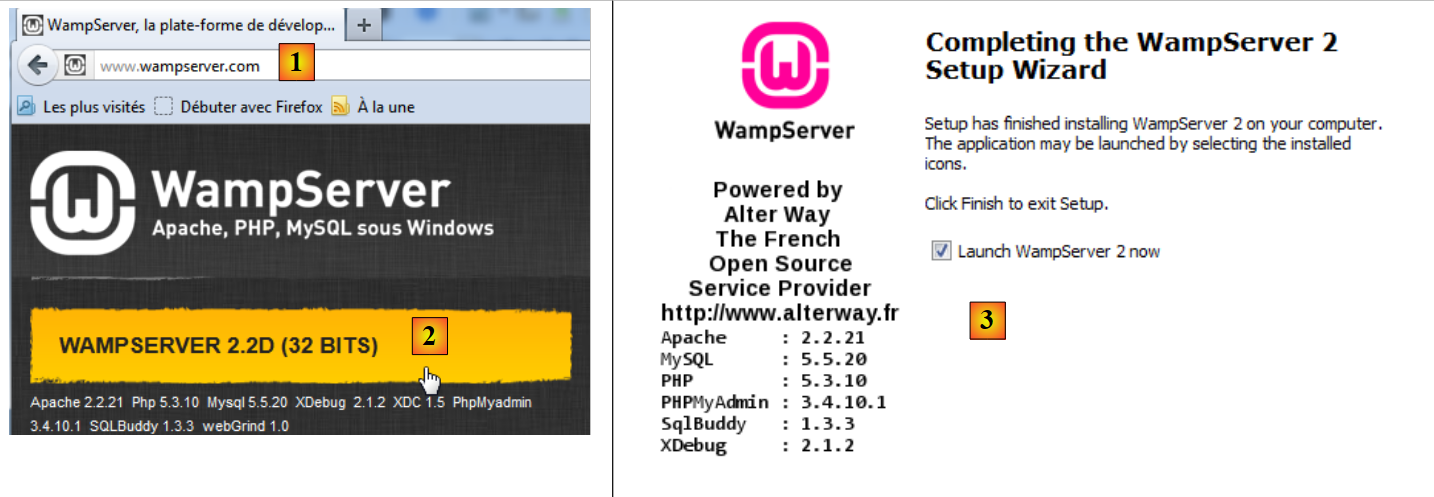 |
- On the [WampServer] [1] website, select the appropriate version [2],
- The downloaded executable is an installer. Various pieces of information are requested during installation. They do not concern MySQL. You can therefore ignore them. The [3] window appears at the end of the installation. Launch [WampServer],
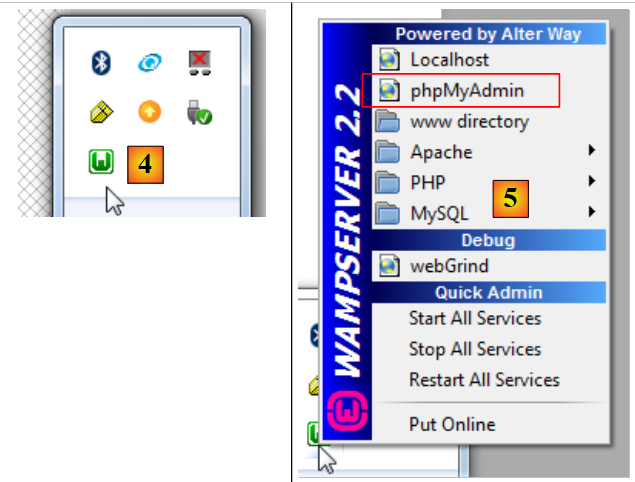 |
- in [4], the [WampServer] icon is installed in the taskbar at the bottom right of the screen [4],
- and when you click on it, the [5] menu appears. It allows you to manage the Apache server and the SGBD MySQL. To manage the server, use the option [PhpPmyAdmin],
- which brings up the window shown below.
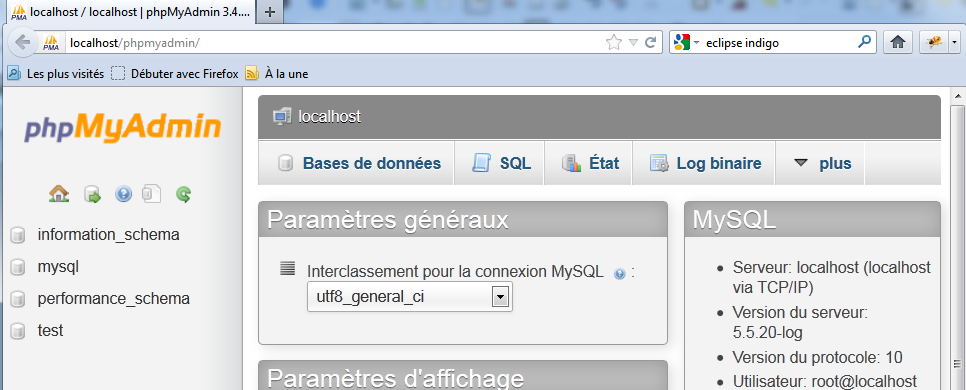
We will provide few details on using [PhpMyAdmin]. In section 1.3.1, we show how to use it to create the application database.
6.3. Installing [Webstorm]
[WebStorm] (WS) is the IDE of JetBrains for developing HTML / CSS / JS. I found it perfect for developing Angular applications. The download site is [http://www.jetbrains.com/webstorm/download/]. It is a paid IDE, but a 30-day trial version of version is available for download. There are also affordable personal and student versions of version and version.
Its use within the application is described in section 1.3.3. To install JS libraries within an application, WS uses a tool called [bower]. This tool is a module of [node.js], a set of JS libraries. Additionally, the JS libraries are fetched from a Git repository, requiring a Git client on the machine performing the download.
6.3.1. Installing [node.js]
The download site for [node.js] is [http://nodejs.org/]. Download the installer and then run it. There is nothing else to do at this time.
6.3.2. Installing the [bower] tool
The [bower] tool, which will allow you to download the Javascript libraries, can be installed in several ways. We will install it from the command line:
C:\Users\Serge Tahé>npm install -g bower
C:\Users\Serge Tahé\AppData\Roaming\npm\bower -> C:\Users\Serge Tahé\AppData\Roaming\npm\node_modules\bower\bin\bower
bower@1.3.7 C:\Users\Serge Tahé\AppData\Roaming\npm\node_modules\bower
├── stringify-object@0.2.1
├── is-root@0.1.0
├── junk@0.3.0
...
├── insight@0.3.1 (object-assign@0.1.2, async@0.2.10, lodash.debounce@2.4.1, req
uest@2.27.0, configstore@0.2.3, inquirer@0.4.1)
├── mout@0.9.1
└── inquirer@0.5.1 (readline2@0.1.0, mute-stream@0.0.4, through@2.3.4, async@0.8
.0, lodash@2.4.1, cli-color@0.3.2)
- line 1: the [node.js] command, which installs the [bower] module. For the command to work, the executable [npm] must be in the PATH directory on the machine (see paragraph below);
6.3.3. Installing [Git]
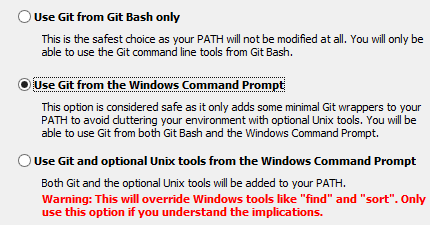
Git is a software version control system. There is a Windows version called [msysgit], available at URL and [http://msysgit.github.io/]. We will not use [msysgit] to manage versions of our application, but simply to download JS libraries located on sites such as [https://github.com] that require a special access protocoland which is provided by the [msysgit] client
The installation wizard offers several steps, including the following:
 |  |
For the other installation steps, you can accept the default values provided.
Once Git is installed, verify that the executable is in the PATH directory on your machine: [Panneau de configuration / Système et sécurité / Système / Paramètres systèmes avancés]:
 | 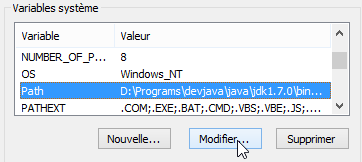 |
The PATH variable looks like this:
D:\Programs\devjava\java\jdk1.7.0\bin;D:\Programs\ActivePerl\Perl64\site\bin;D:\Programs\ActivePerl\Perl64\bin;D:\Programs\sgbd\OracleXE\app\oracle\product\11.2.0\client;D:\Programs\sgbd\OracleXE\app\oracle\product\11.2.0\client\bin;D:\Programs\sgbd\OracleXE\app\oracle\product\11.2.0\server\bin;...;D:\Programs\javascript\node.js\;D:\Programs\utilitaires\Git\cmd
Verify that:
- the path to the [node.js] installation folder is present (here D:\Program Files\javascript\node.js);
- the path to the Git client executable is correct (here, D:\Program Files\Utilities\Git\cmd);
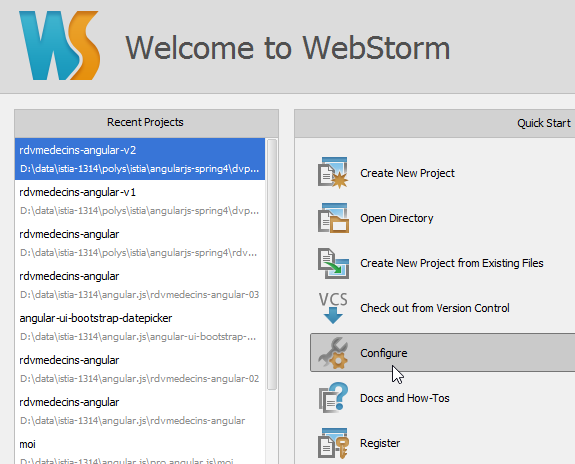
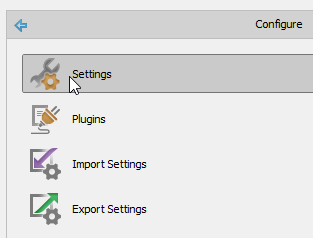
6.3.4. Configuration of [Webstorm]
Now let's check the configuration of [Webstorm]
 |  |
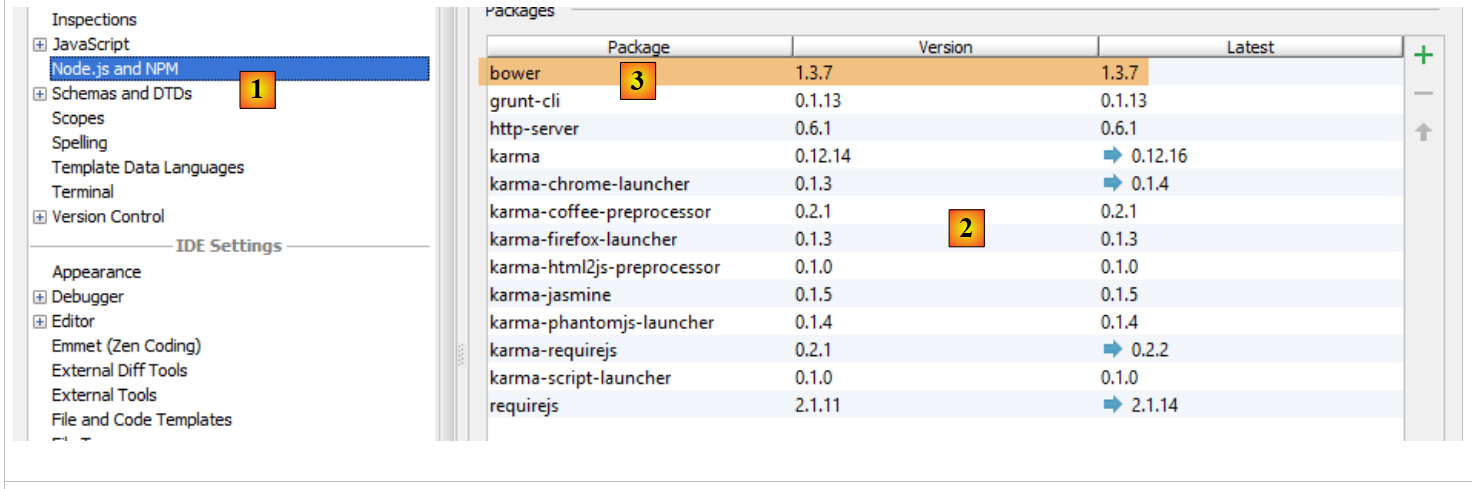 |
Above, select option and [1]. The list of already installed [node.js] modules appears in [2]. This list should only contain the [3] line for the [bower] module if you followed the previous installation process.
6.4. Installing an Android emulator
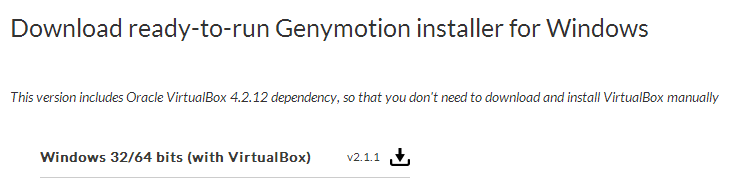
The emulators provided with Android's SDK are slow, which discourages their use. The company [Genymotion] offers a much more powerful emulator. It is available at URL [https://cloud.genymotion.com/page/launchpad/download/]
(February 2014).
You will need to register to obtain a version for personal use. Download the [Genymotion] product with the VirtualBox virtual machine;
Install and then launch [Genymotion]. Next, download an image for a tablet or phone:
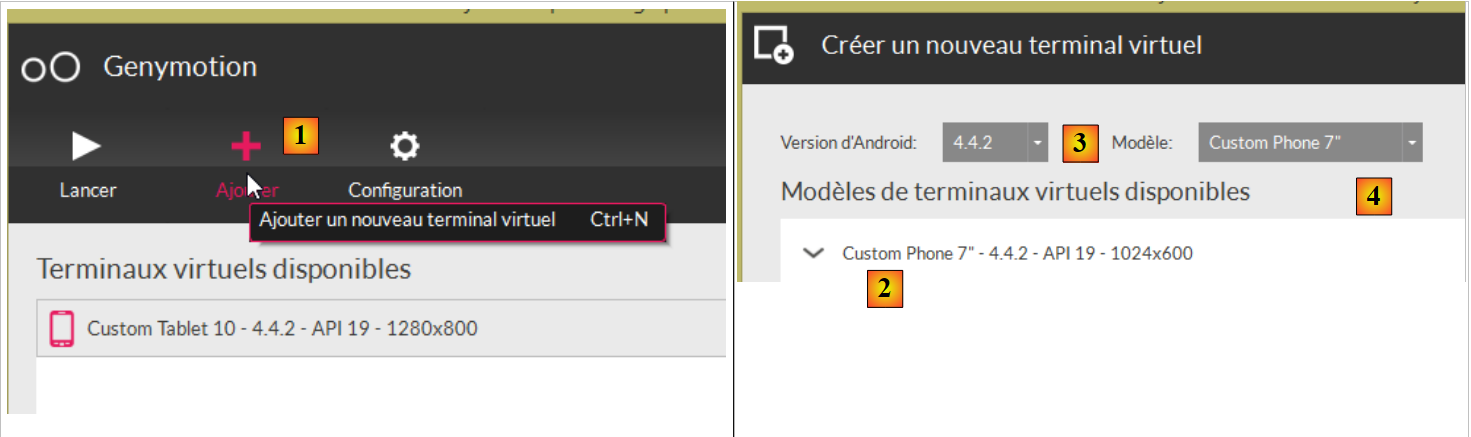 |
- In [1], add a virtual device;
- In [2], select one or more devices to install. You can refine the displayed list by specifying the desired Android version version as well as the device model [4];
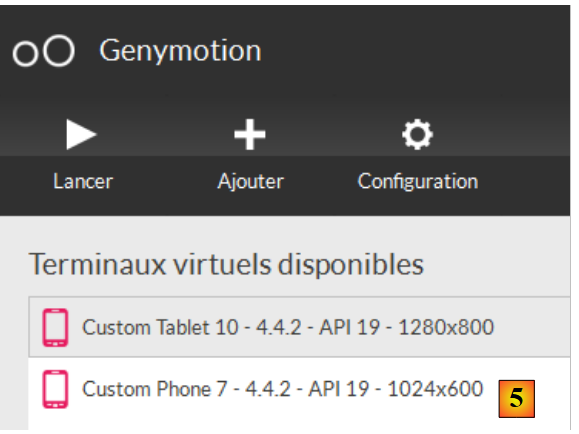 |
- once the download is complete, you will see a list of the virtual devices available for testing your Android apps;
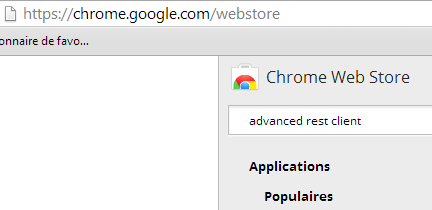
6.5. Installing the Chrome plugin [Advanced Rest Client]
In this document, we use Google’s Chrome browser (http://www.google.fr/intl/fr/chrome/browser/). We will add the [Advanced Rest Client] extension . Here’s how to proceed:
- Go to the [Google Web store] website (https://chrome.google.com/webstore) using the Chrome browser;
- search for the [Advanced Rest Client] app:
 |
- the app is then available for download:
 |
- to get it, you’ll need to create a Google account. [Google Web Store] then asks for confirmation [1]:
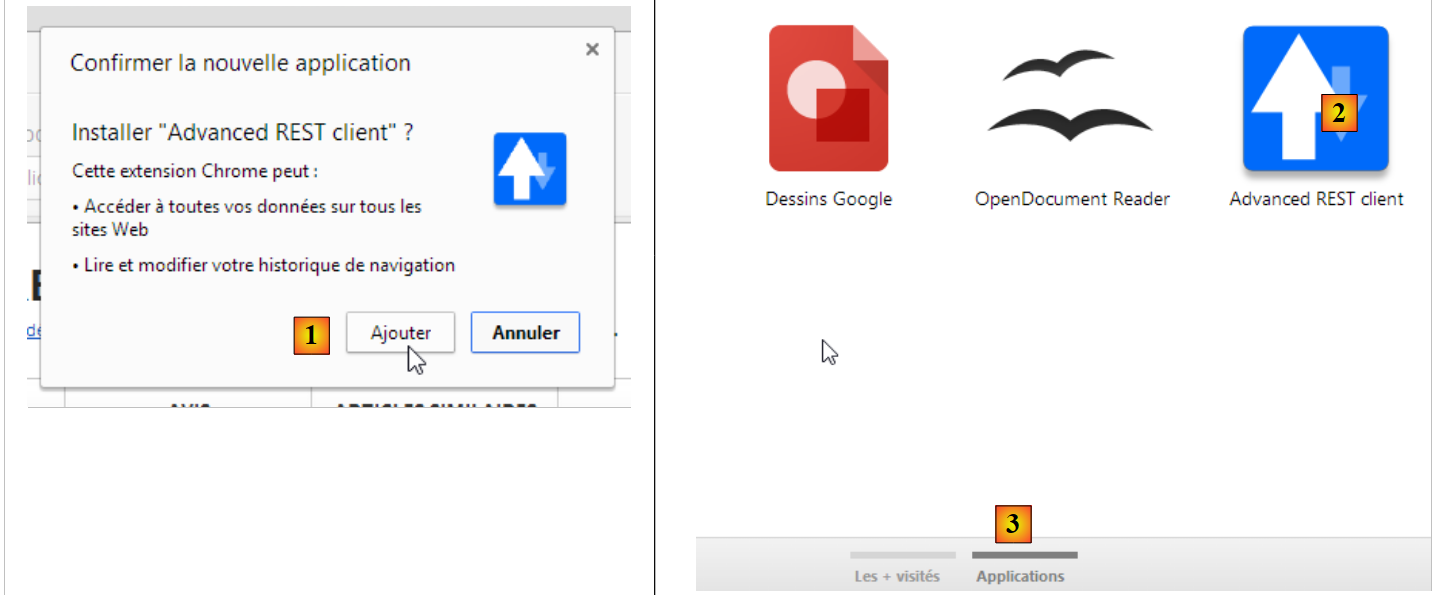 |
- In [2], the added extension is available in the option [Applications] [3]. This option is displayed on every new tab you create (CTRL-T) in the browser.