4. Installing a NestJS Server
This chapter is reproduced verbatim from the TypeScript course: installing a web server is not specific to any particular client language, and the server installed here serves as a common target for both courses. The only difference is that the numerous screenshots from the TypeScript document (installation of Laragon, HeidiSQL, Postman—a good hundred images in total) are not reproduced here; the text, however, is reproduced in its entirety. For step-by-step visual instructions, refer to document [Introduction to the TypeScript Language and the NestJS Web Framework], which describes the exact same installation.
Note: In the following, reference is sometimes made to a PHP server, the one referenced in the course [Introduction to the PHP7 Language Through Examples]. The NestJS server implements the same services as this PHP server.
We will cover the HTTP functions in Dart, which allow you to query a web server. For our tests, we need a web server. We will use the one developed for the TypeScript course (Chapter [Case Study: The Tax Calculation Server in NestJS], not covered in this course but whose server is still used as a target). This server hosts a JSON service offering the following services:
- [init-session] - GET [main.php?action=init-session&type=json] - tells the server that we want responses from JSON;
- [authenticate-user] - POST [main.php?action=authenticate-user]: the two posted parameters [user, password] determine whether or not to allow connection to the service JSON. By default, the credentials are [admin, admin];
- [calculate-tax] - POST [main.php?action=calculate-tax]: The posted parameters [married, children, salary] are used to calculate a tax ([married]: “yes” or “no,” [children]: number of the taxpayer’s children, [salary]: the taxpayer’s annual salary);
- [list-simulations] - GET [main.php?action=list-simulations] - lists the simulations performed since the start of the session;
- [delete-simulation] - GET [main.php?action=delete-simulation&number=x] - removes simulation No. x from the list of simulations;
- [get-admindata] - GET [main.php?action=get-admindata] - retrieves the entire database associated with the server into an object named JSON;
- [end-session] - GET [main.php?action=end-session]: ends the session. To start another session, the user must issue the “init-session” command above.
4.1. Installing Laragon
In September 2026, the Laragon tool is available at URL [Download Laragon – Fast & Modern Dev Environment ]. Laragon includes tools that allow you to install a PHP server and the MySQL DBMS:
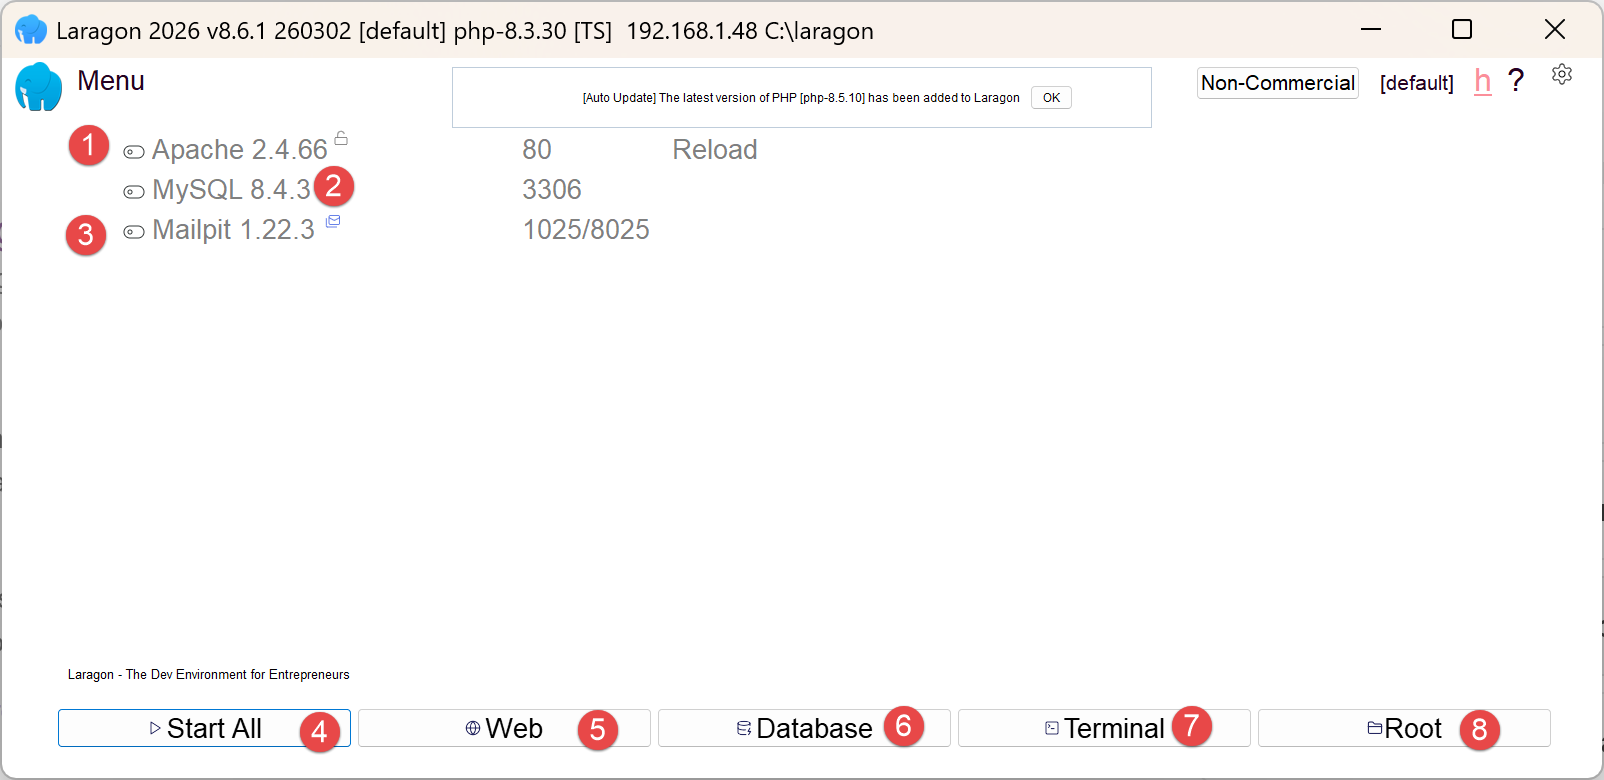
- in [1], an Apache web server;
- into [2], the MySQL DBMS;
- to [3], a messaging tool that we will not be using;
- [4] starts all services (Apache, MySQL, MailPit);
- [5] displays the web page for URL [http://localhost]. By default, this URL refers to the <laragon-install>\www folder, where <laragon-install> is the Laragon installation folder;
- in [6], launches the HeidiSQL tool, which allows you to manage MySQL databases. We will use this tool to create the database used by the tax calculation server;
- In [7], open a terminal; all the binaries needed for Laragon are located in PATH;
- In [8], open a Windows Explorer window in the folder associated with URL [http://localhost];
The Laragon installation folder contains the following items:
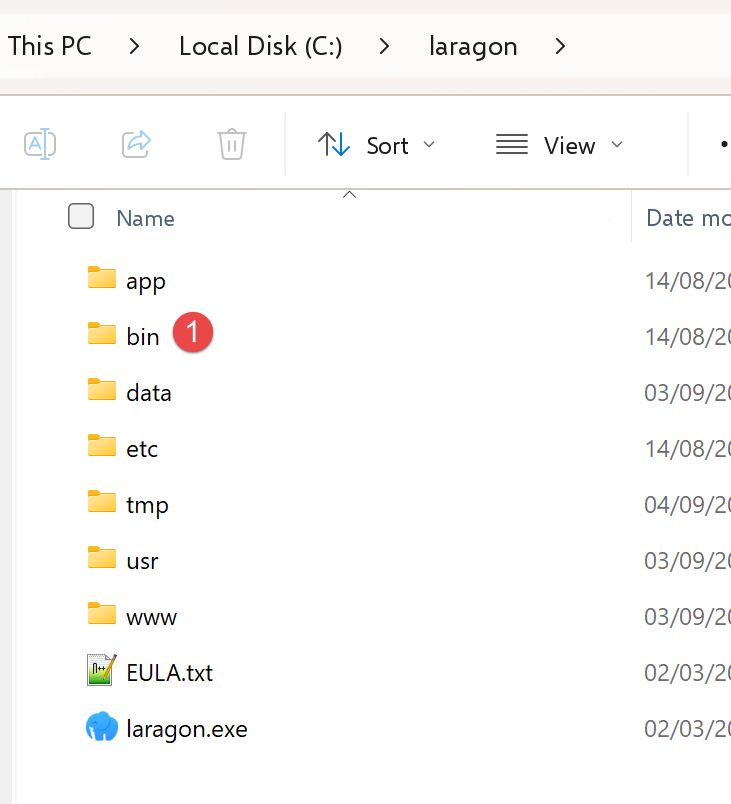 |
- In [1], the [bin] folder contains numerous applications:
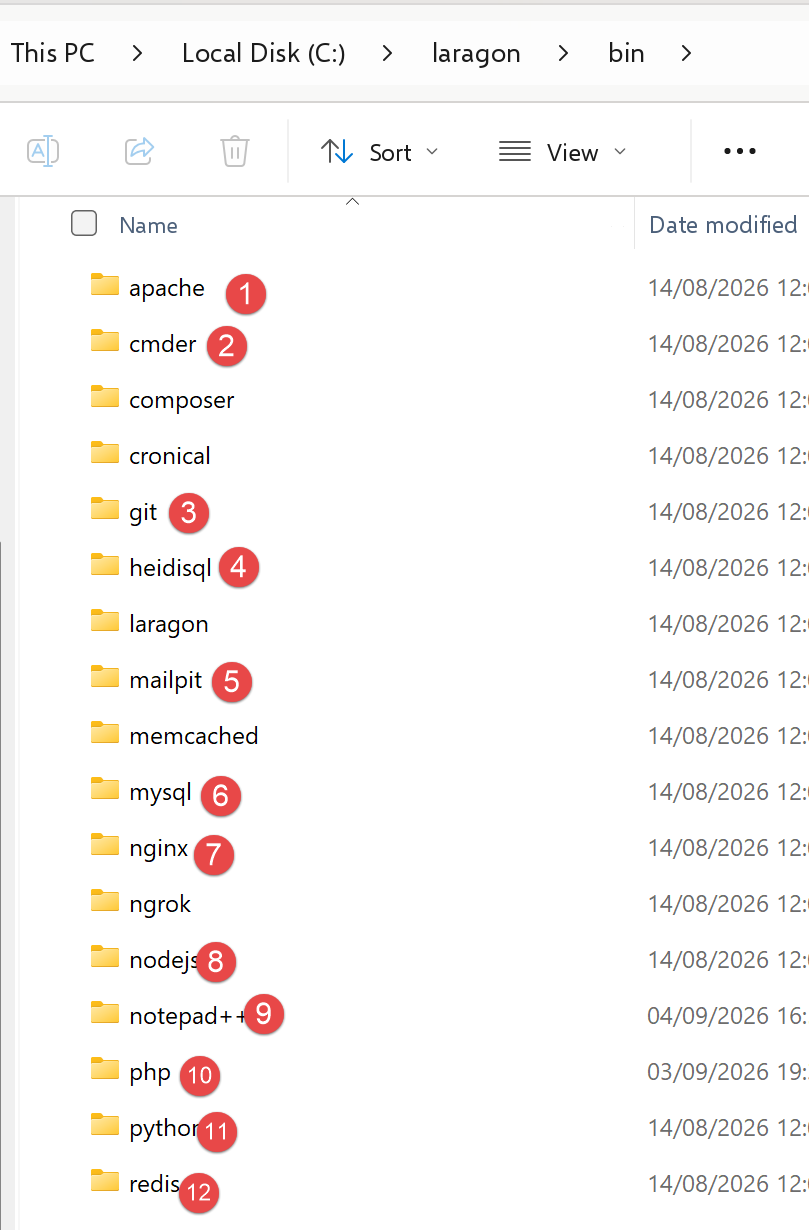 |
- In [1], the Apache web server;
- in [2], a command-line terminal;
- in [3], a client for [git] that allows you to manage different versions of a project;
- in [4], a database manager;
- [5], an email manager;
- in [6], the MySQL DBMS;
- [7], another web server;
- in [8], [node.js] to run JavaScript scripts;
- [9], a text editor;
- [10], the PHP interpreter;
- [11], the [Python] interpreter;
- [12], a cache server;
Laragon comes with a comprehensive development environment. In this course, we will only use the MySQL DBMS, [6], and [heidisql] to manage it graphically;
4.2. Installation and Configuration of the NestJS Server
A NestJS server for a highly simplified tax calculation can be found in the nestjs-case-study folder within the script directory for this course:
nestjs-case-study/
├── package.json
├── nest-cli.json
├── .env.example
├── create_dbtaxes.sql
├── src/
│   ├── main.ts
│   ├── main.controller.ts
│   ├── app.module.ts
│   ├── actions/
│   ├── config/
│   ├── entities/
│   ├── filters/
│   ├── model/
│   ├── responses/
│   ├── session/
│   └── utilities/
└── views/
Node.js and npm must be installed for this server (they are not needed for the Dart scripts themselves). Navigate to the nestjs-case-study folder and install its dependencies:
The server needs a .env file to specify the connection settings for the MySQL database created by Laragon (see above) as well as the listening port. Copy the provided .env.example file to .env and modify it as follows:
PORT=3000
TAX_DATA_SOURCE=mysql
DB_HOST=localhost
DB_PORT=3306
DB_NAME=dbtaxes-2019
DB_USER=admtaxes
DB_PASSWORD=pwdtaxes
CORS_ALLOWED=true
SESSION_SECRET=change-me-in-production
- PORT: the listening port for the NestJS server (default is 3000).
- TAX_DATA_SOURCE: MySQL to use the database created below;
- DB_HOST, DB_PORT, DB_NAME, DB_USER, DB_PASSWORD: the connection parameters for the dbtaxes-2019 database that we will create with HeidiSQL (see below)—same credentials as those defined in the create_dbtaxes.sql script shown in the directory tree above;
- CORS_ALLOWED: allows calls to CORS from a Dart (browser) client running on a different port.
- SESSION_SECRET: the key used to sign the session cookie—change it if the server is ever to be made publicly accessible.
4.3. Creating the Database
To create the MySQL database required by the NestJS server, we use a Laragon option:
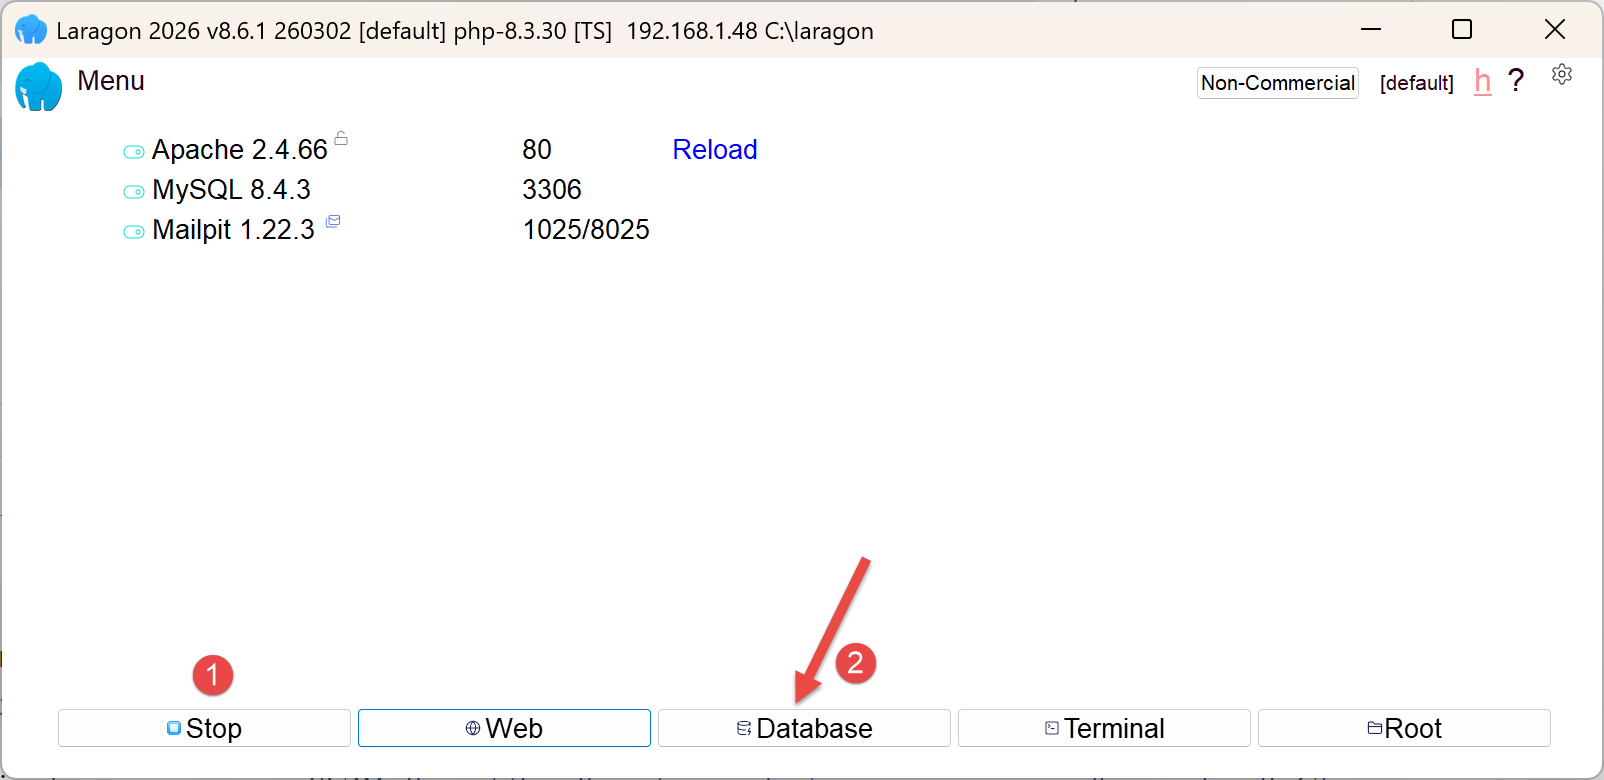 |
- In [1], all services must be started;
- in [2], the [Database] option allows you to manage the database;
The [Database] option launches a utility called HeidiSQL:
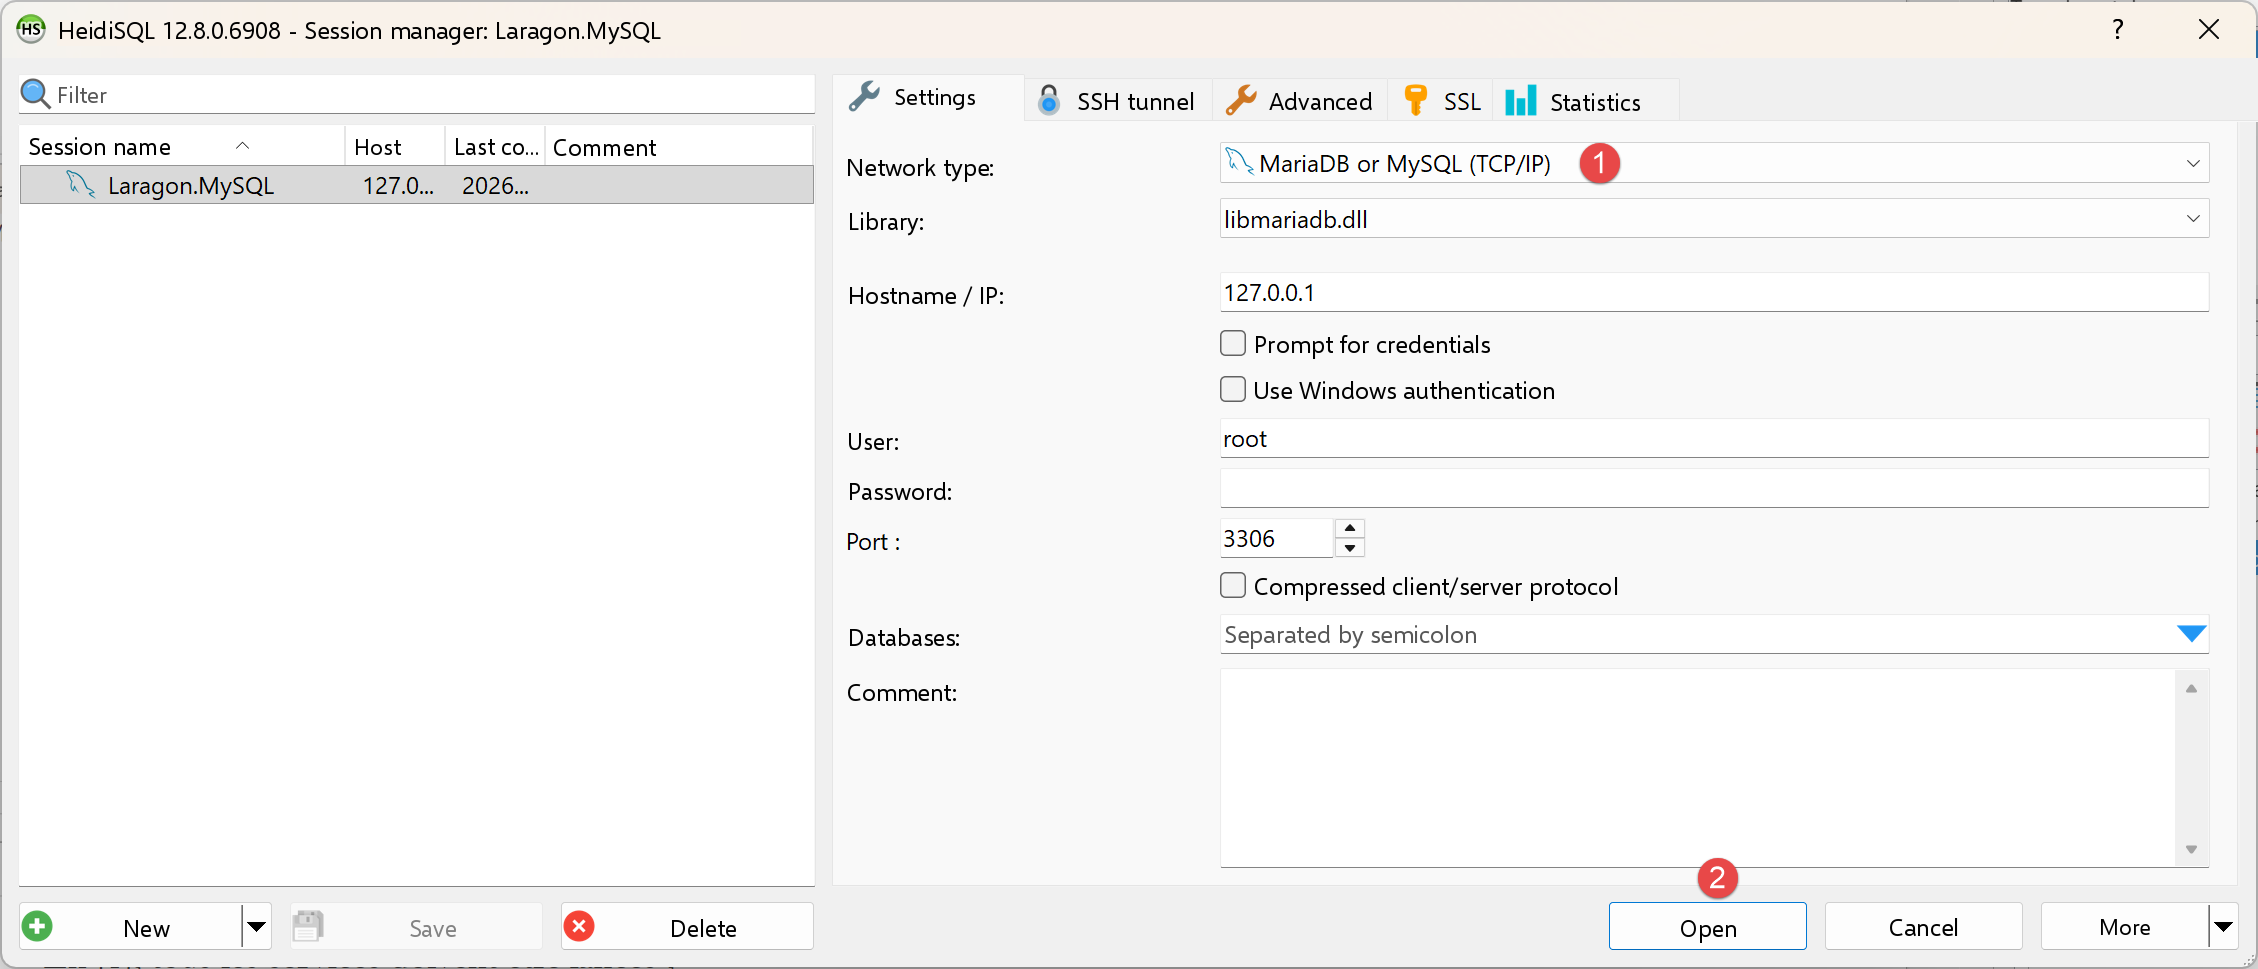 |
- In [1], you can select various DBMS options. The default value provided is MySQL DBMS. This is acceptable;
- in [2], you log in to HeidiSQL;
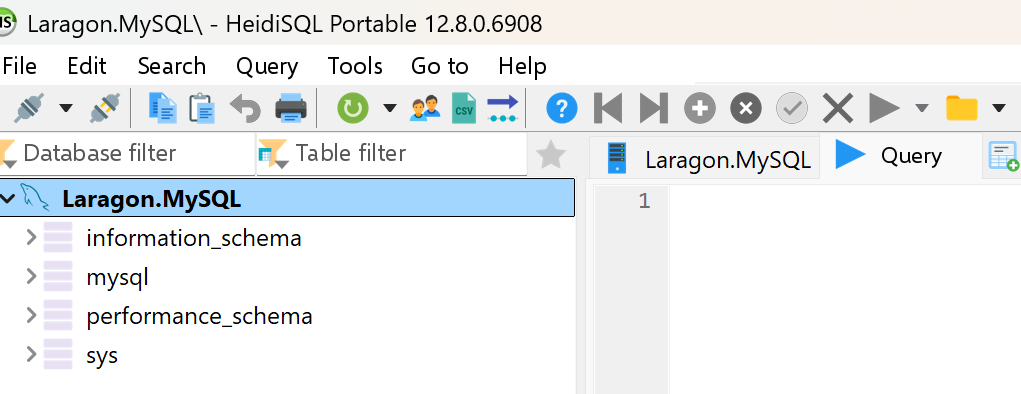 | 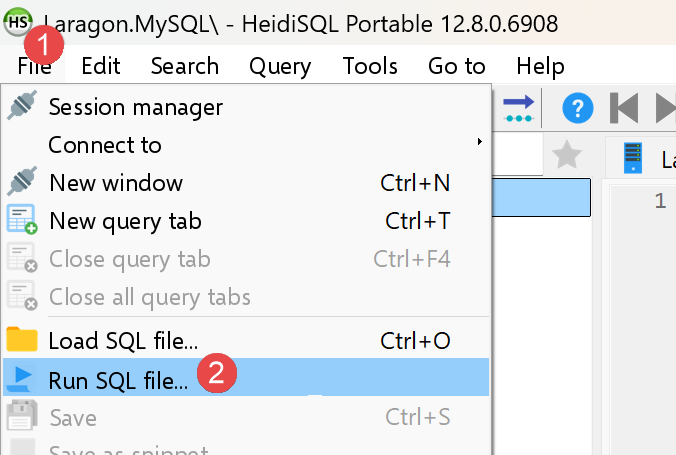 |
- In [1-2], run the SQL file, then select the [create_dbtaxes.sql] file, which you’ll find in the [nestjs-case-study] folder:
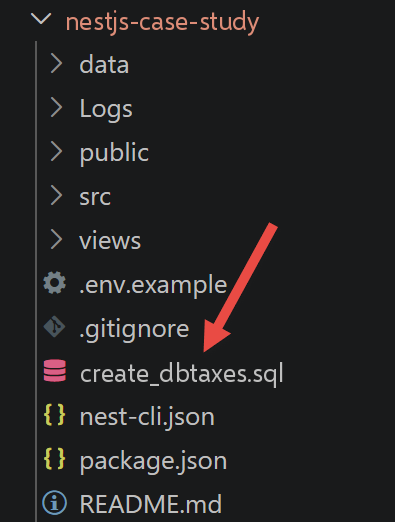
Running the [2] file will create the [dbtaxes-2019] database used by the tax calculation server. To view it, run F5 within HeidiSQL to refresh the display:
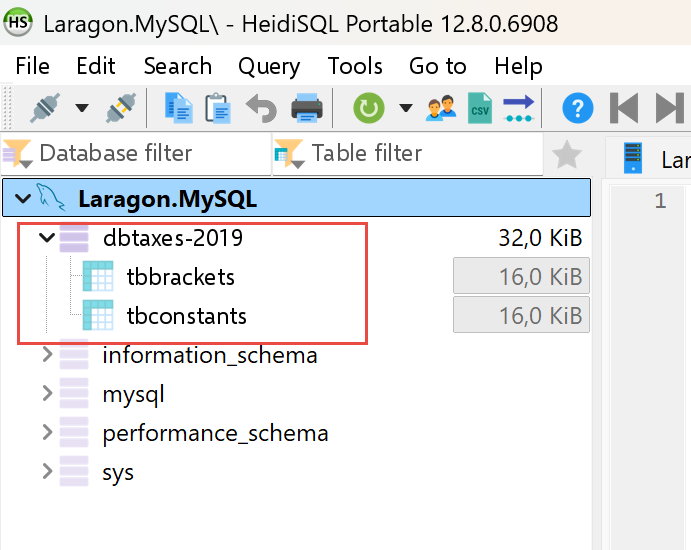 |
The database [dbtaxes-2019] has been created.
4.4. Starting the NestJS server
Once the .env file is in place (and the database has been created), open a terminal at the root of the [nestjs-case-study] folder, then compile and start the server:
For development, with automatic restart after every source code change, use:
In both cases, the console displays:
[Nest] ... [NestFactory] Starting Nest application...
[Nest] ... [InstanceLoader] AppModule dependencies initialized
[Nest] ... [RoutesResolver] MainController {/}:
[Nest] ... [RouterExplorer] Mapped {/main.php, ALL} route
[Nest] ... [NestApplication] Nest application successfully started
Tax calculation server (NestJS) started on http://localhost:3000
JSON entry point: http://localhost:3000/main.php?action=init-session&type=json
HTML entry point: http://localhost:3000/main.php?action=init-session&type=html
The NestJS server has a single entry point (main.php, retained for compatibility even though it is actually NestJS) that receives all requests, and an “action” request parameter that selects the processing to be performed:
4.5. HTML tests for the tax calculation server
If you haven't already, start all Laragon services (for MySQL) as well as the NestJS server (npm run start:prod or npm run start:dev; see above). Then, in a browser, request the URL at http://localhost:3000/main.php?action=init-session&type=html — this is the same init-session action as for the PHP server, with the same type=html parameter, but on port 3000:
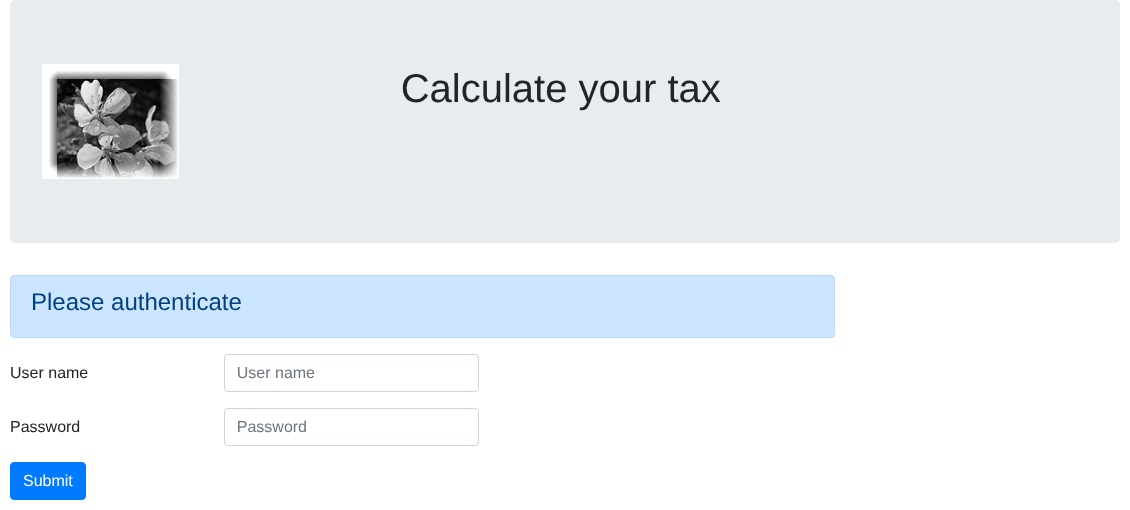 |
The credentials are admin/admin, exactly the same as for the PHP server—they are defined in the same way, in the server code rather than in config.json. Enter them:
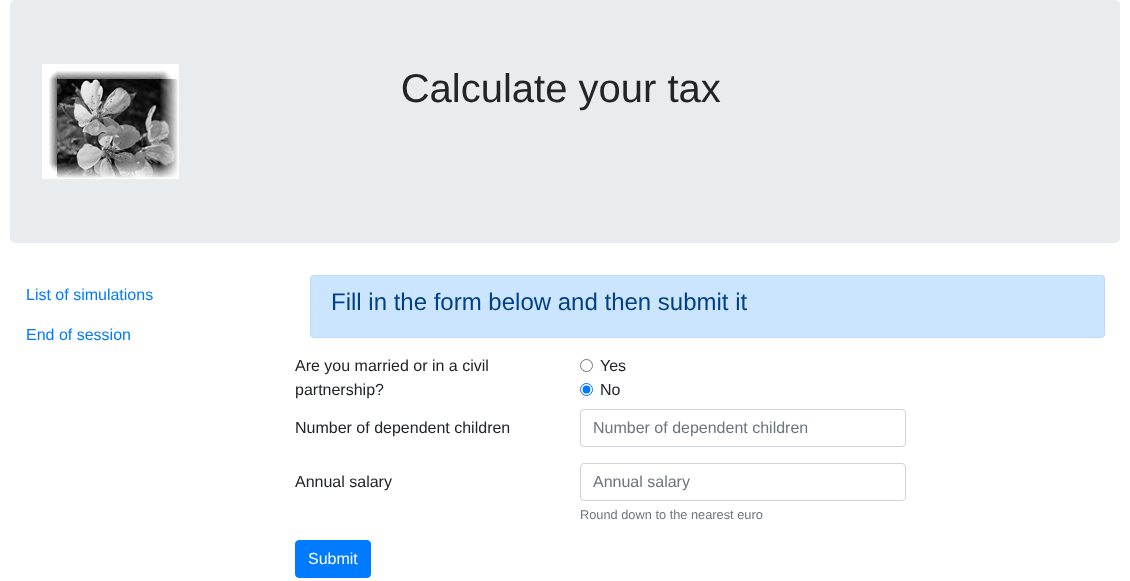 |
Fill out the form and then submit it. You’ll see the following page:
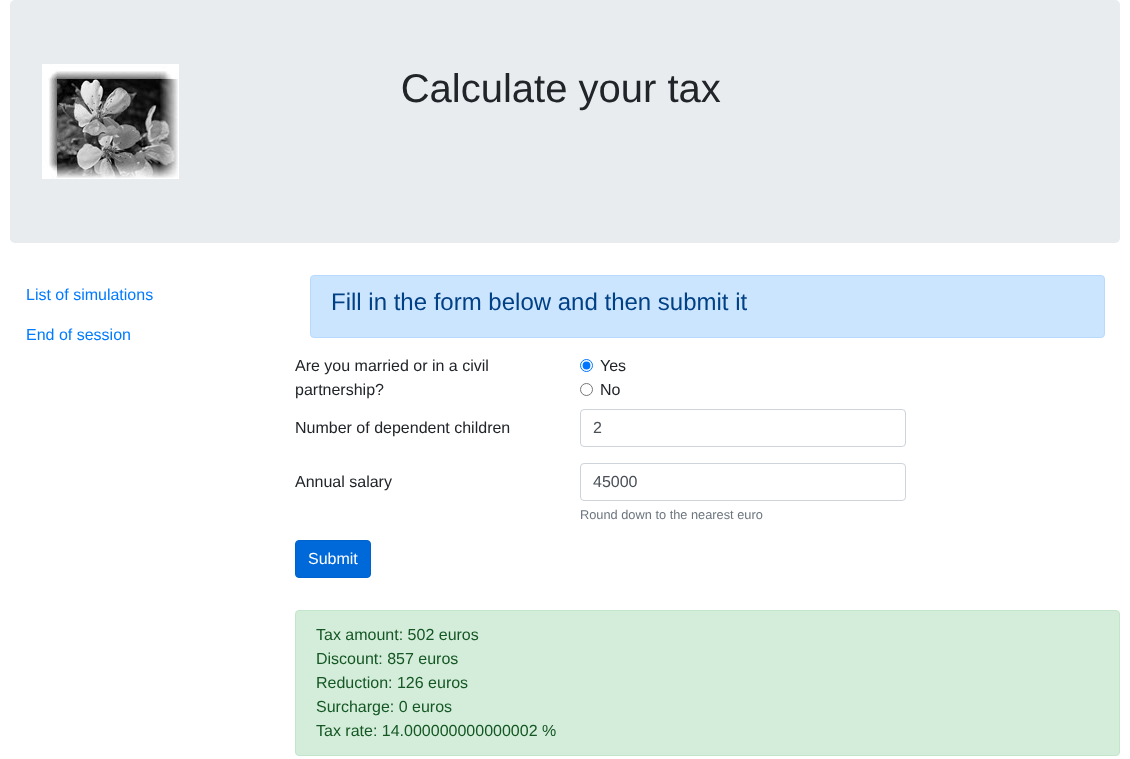 |
The tax calculation result is displayed—this page is indeed using the database we just created. The “List of simulations” link in the left-hand menu displays the history of calculations for this session:
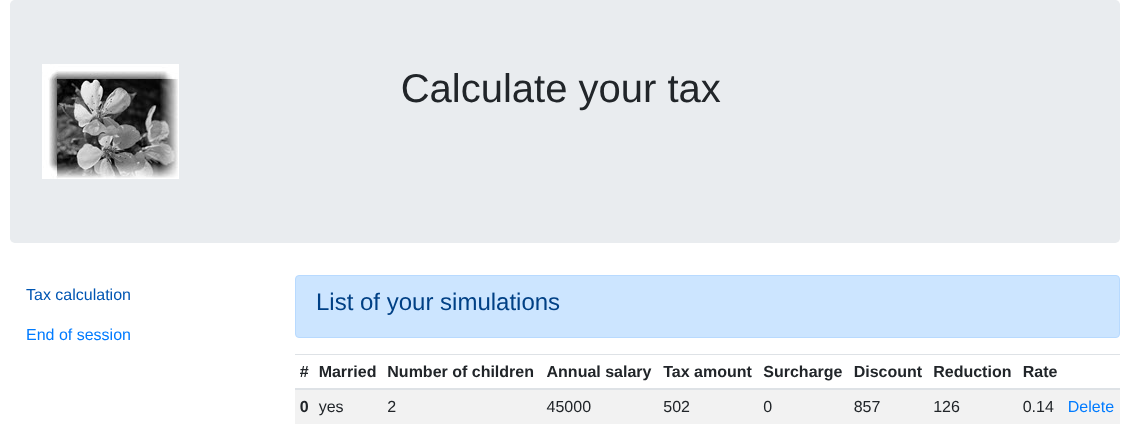 |
If you get these results, the NestJS tax calculation server is working correctly with its MySQL database. We are now ready to query the server with Dart clients. To do this, we will use version JSON of the server.
4.6. The API and JSON versions of the tax calculation server
4.6.1. Postman Tests
The PHP server was tested using the Postman desktop tool. The same collection of requests (tax-servers-tests.postman_collection.json, provided in the nestjs-course folder of the TypeScript course scripts) works identically against the NestJS server: API and JSON are exactly the same—same actions, same parameters, same status codes. In Postman, simply change the port for each request (80 → 3000), or more simply, the base URL in the collection if you’ve defined it as a variable.
The Postman tool is available at URL [https://www.postman.com/downloads/]. You may need to create an account.
Start all Laragon services, then open the Postman desktop app:
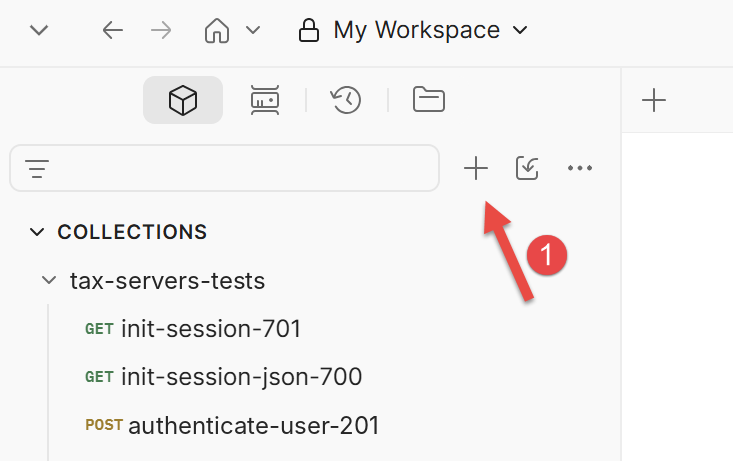 | 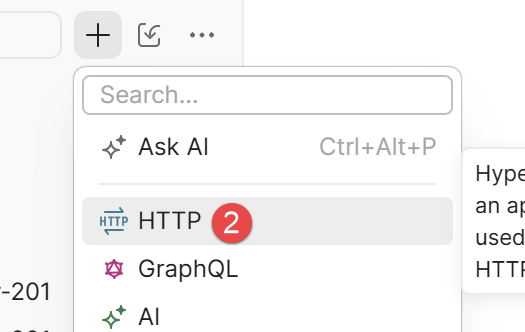 |
- In [1-2], create a request HTTP to query the tax calculation server;
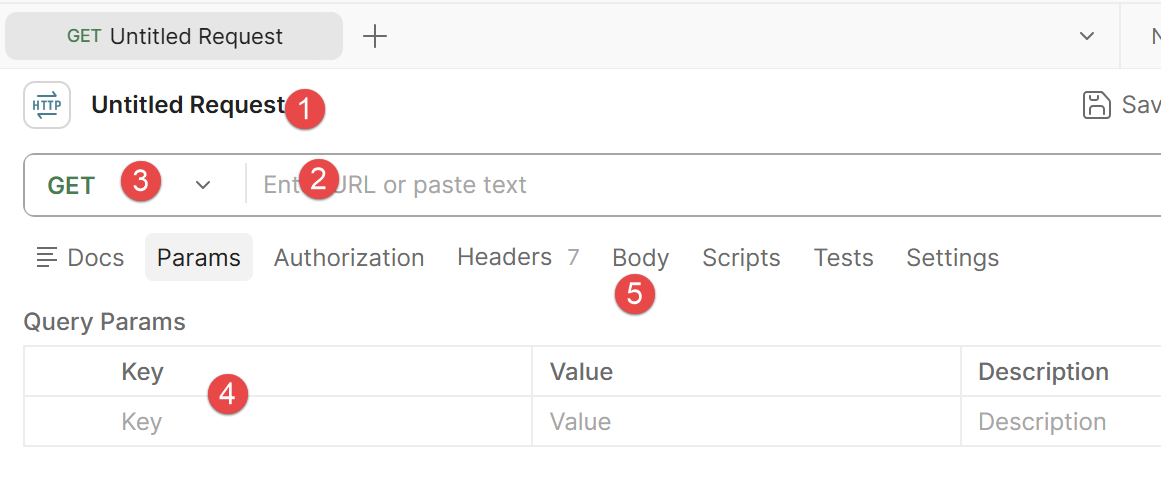 |
- In [1], you can name your query HTTP. You will be able to save it and retrieve it;
- In [2]: enter the URL of the server you want to query;
- In [3]: select the query type HTTP. We’ll use two of them in the following: GET and POST;
- in [4]: if your query has parameters of the type [?param1=val1¶m2=val2&…], you can define them here;
- in [5]: if the query type is POST, this is where you define the posted values;
In the [nestjs-course] folder of the TypeScript course scripts, you will find a collection of HTTP requests to the tax calculation server that you can import into POSTMAN.
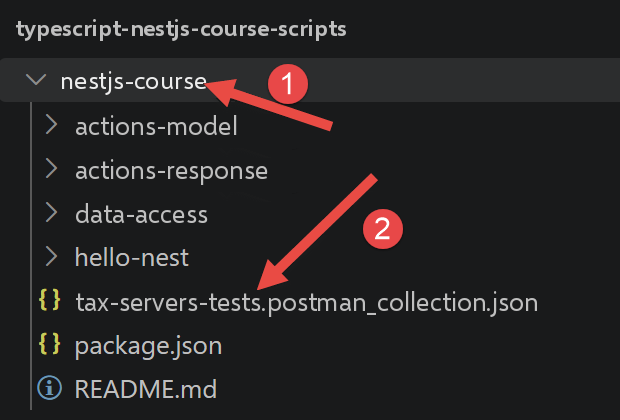
Proceed as follows. In Postman, run [Ctrl-O]:
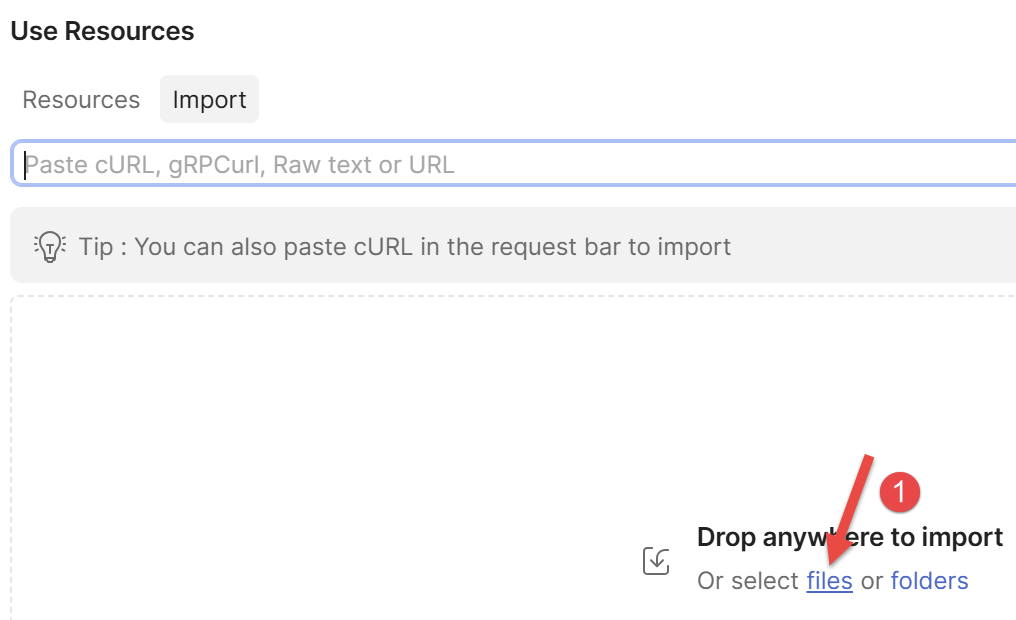 |
- Use the link [1] to import the file [tax-servers-tests.postman_collection.json] from the folder [nestjs-course]:
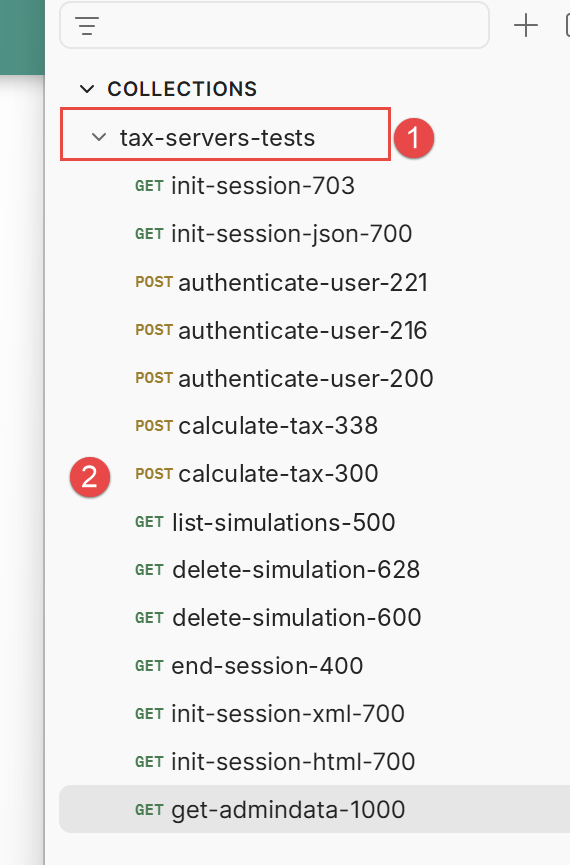 |
- In [1], the name of the imported collection;
- in [2], its contents. This is a list of requests (HTTP) to the tax calculation server (JSON);
Let’s look, for example, at the request named [init-session-json-700]. It initiates a session JSON with the server:
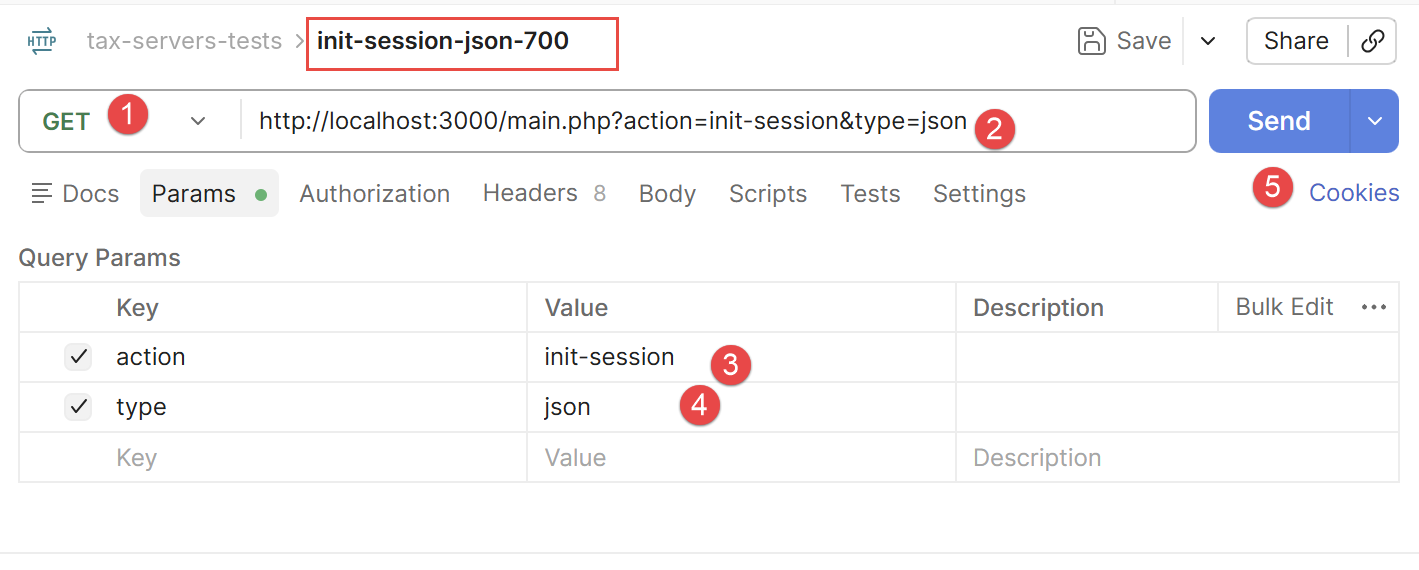 |
- In [1], the request HTTP is a GET;
- in [2], the queried URL. It requests to initiate a JSON dialogue with the server;
- in [3-4], we find the parameters from GET;
- in [5], to send the request to the tax calculation server;
Before sending the request, make sure you have started the Laragon services. The server’s response, JSON, is as follows:
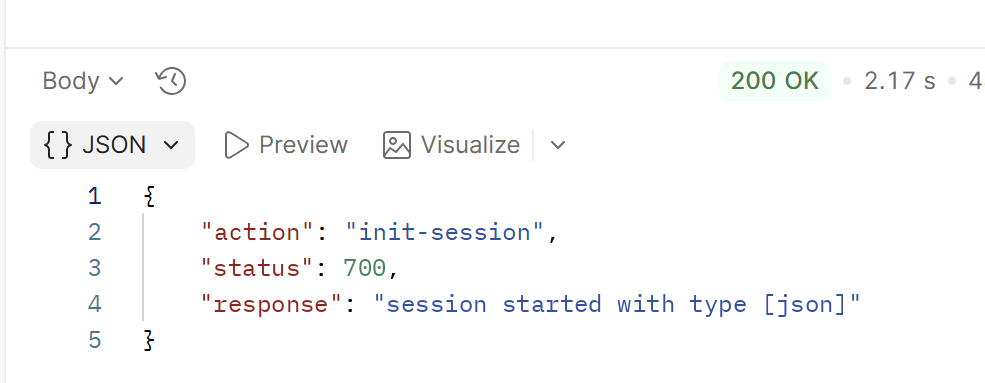 |
Now use the request named [init-session-703]:
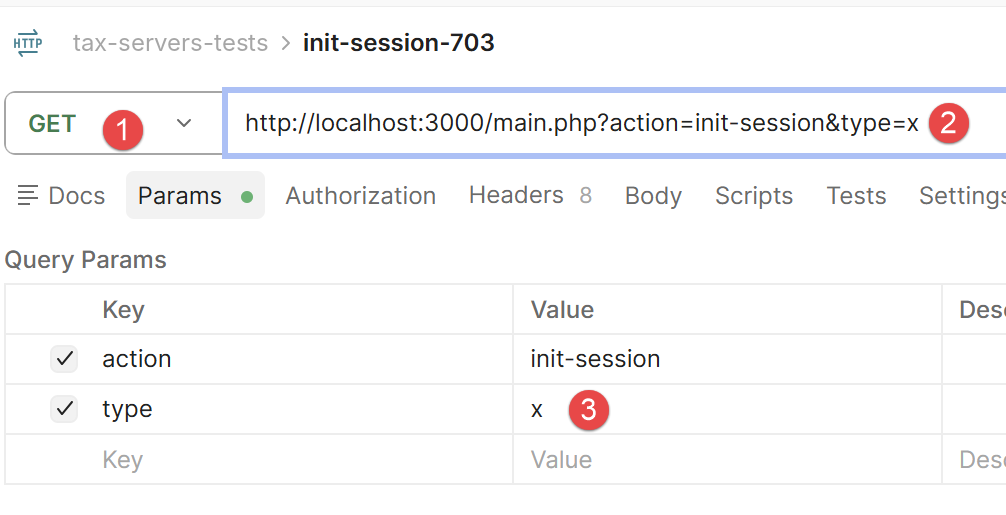
The request [1-3] is invalid. The parameters must be of the type [?action=xx&type=yy], where “type” can be “html,” “xml,” or “json.” The type “x” will not be recognized. The server’s response, JSON, is as follows:
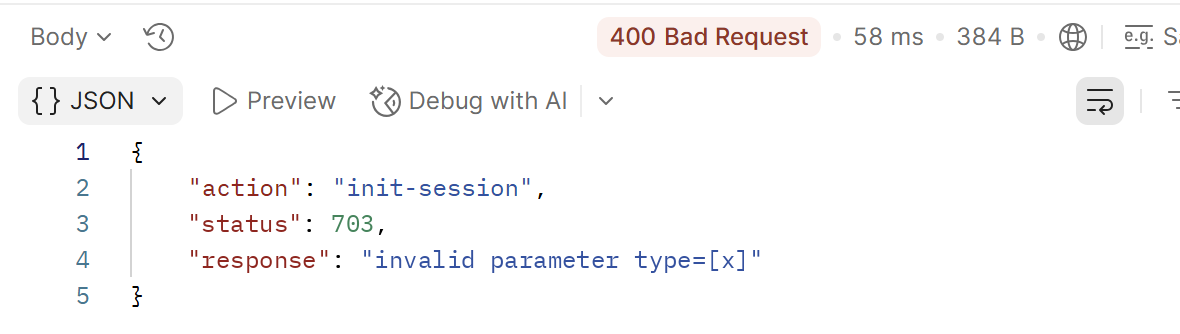 |
Resend the request [init-session-json-700] to restart a session JSON. Then send the request [authenticate-user-200] to authenticate yourself:
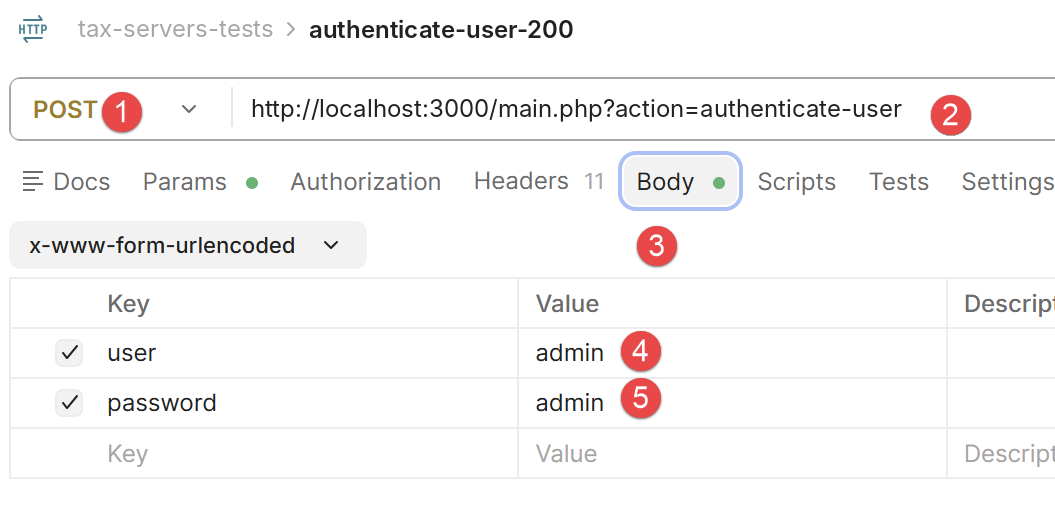 |
- In [1], the request is POST;
- in [2], the authentication request URL;
- in [3], the body of POST, which contains the posted values;
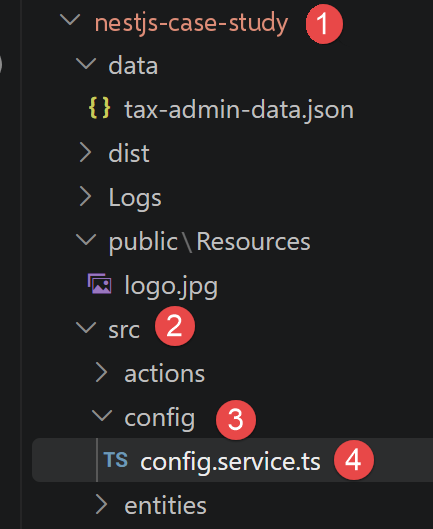
- [4-5], the two posted values. These are the application administrator’s credentials. They are defined in the server’s [config.service.ts] file;
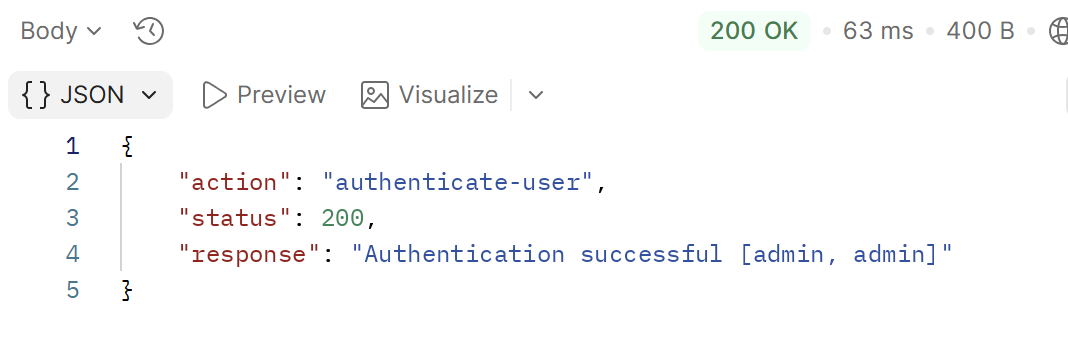
The server’s response, JSON, is as follows:
 |
Once you are authenticated, you can perform a tax calculation. To do so, use the query [calculate-tax-300]:
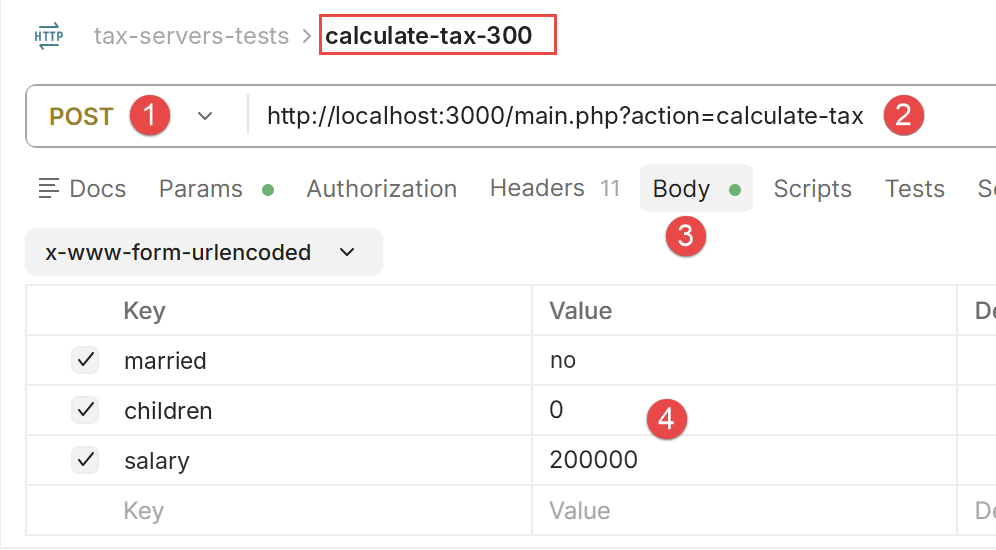 |
- In [1], this is a POST request;
- in [2], the URL query is called;
- in [3-4], the three values are posted;
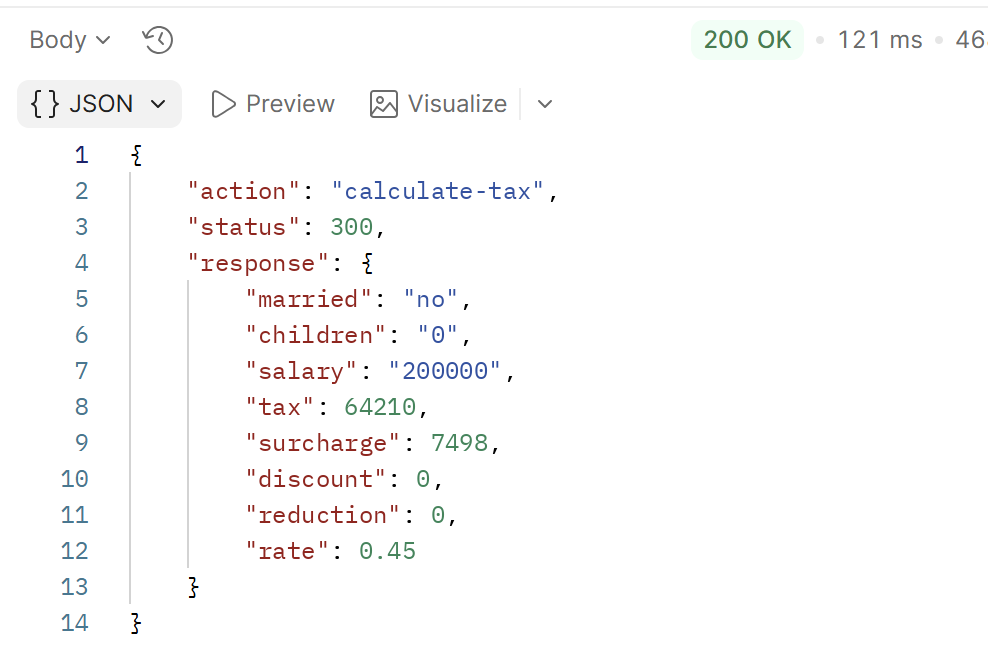
The response JSON is as follows:
 |
Run the request several times, changing the posted values each time. Once you’ve done that, run the request [list-simulations-500], which will display the list of simulations you’ve performed:
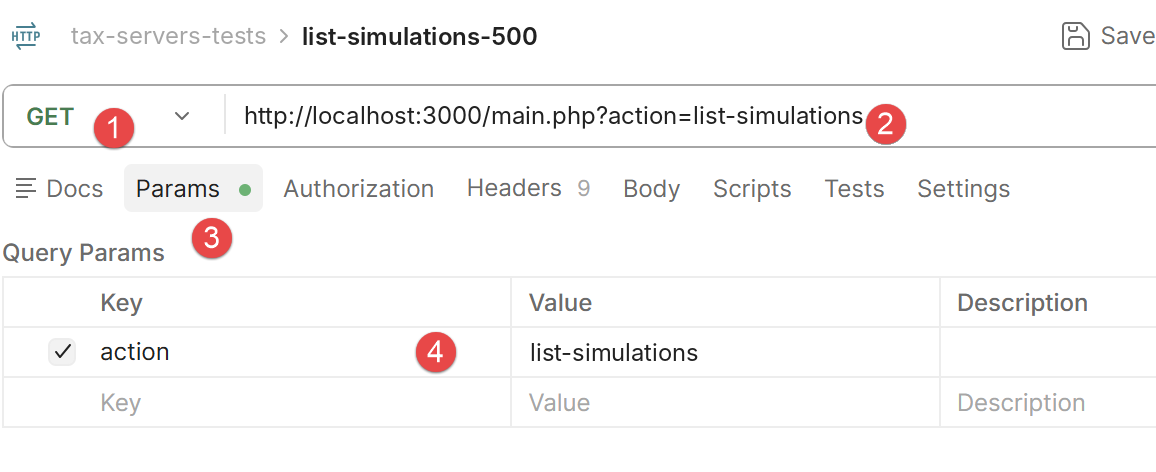 |
- The request GET [1-4] has only one parameter: [action]. The response JSON is as follows:
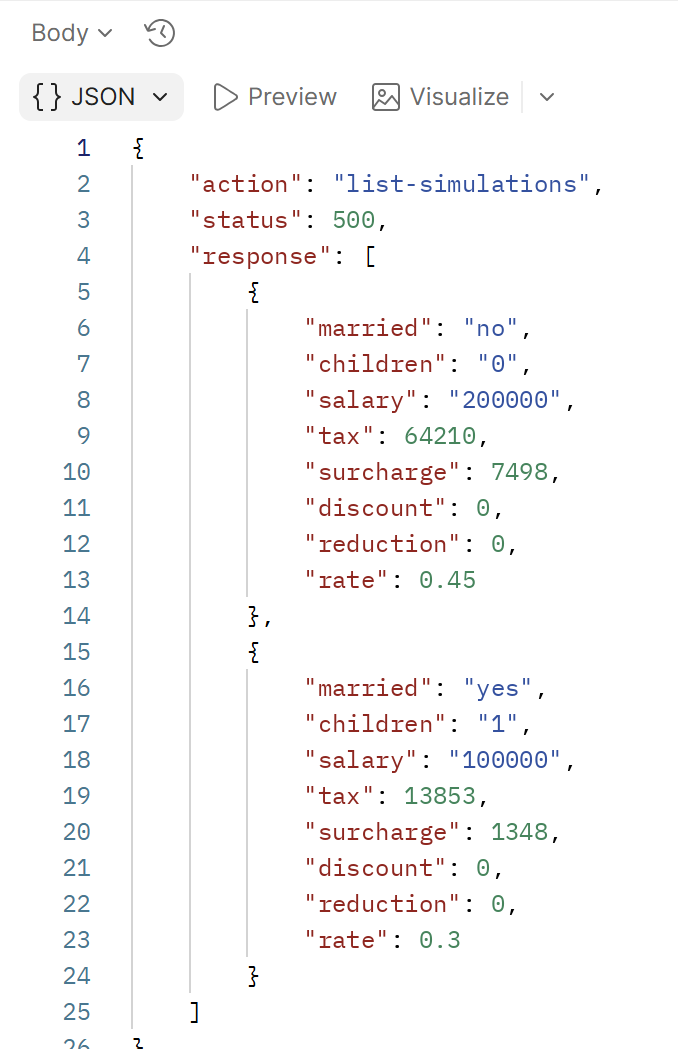 |
This is the list of simulations you have performed.
Use the query [delete-simulation-600] to delete a simulation:
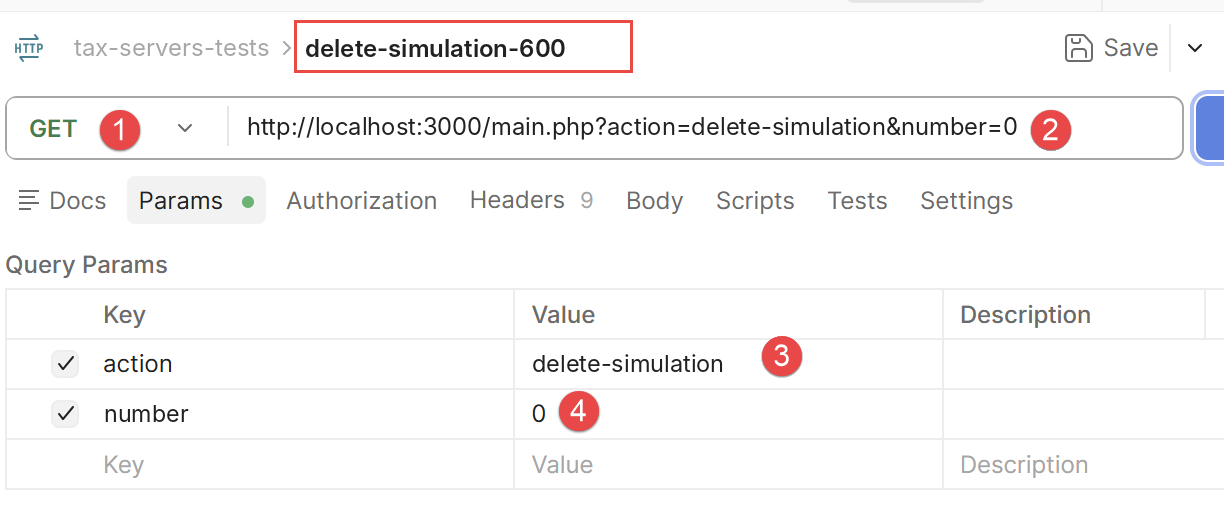 |
- In [2], the URL is queried with a GET. It includes two parameters: [action, number]. [number] is the number of the simulation you want to delete from the list of simulations. Here, the number 0 refers to the first simulation in the list;
The server’s response, JSON, is as follows:
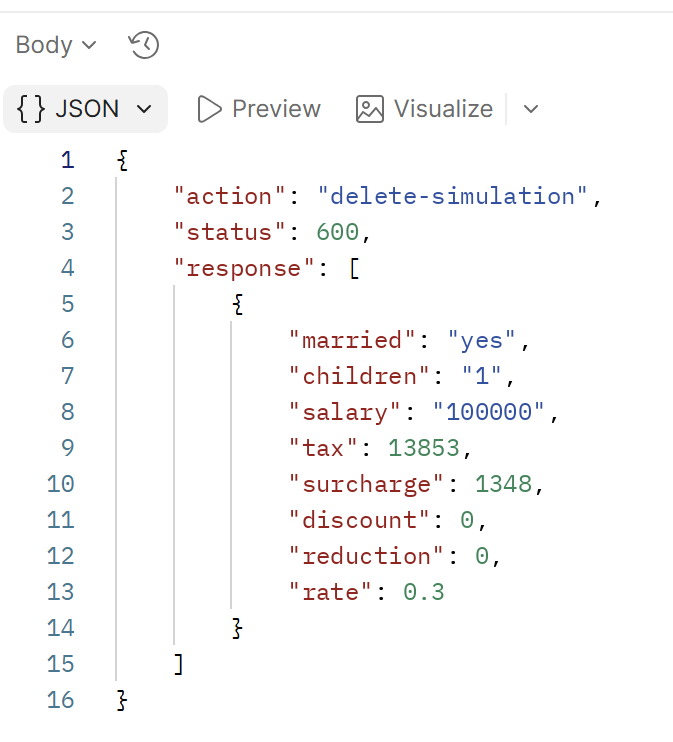 |
The response JSON is the remaining list of simulations after deleting one of them;
Finally, you can end the session with the query [end-session-400]:
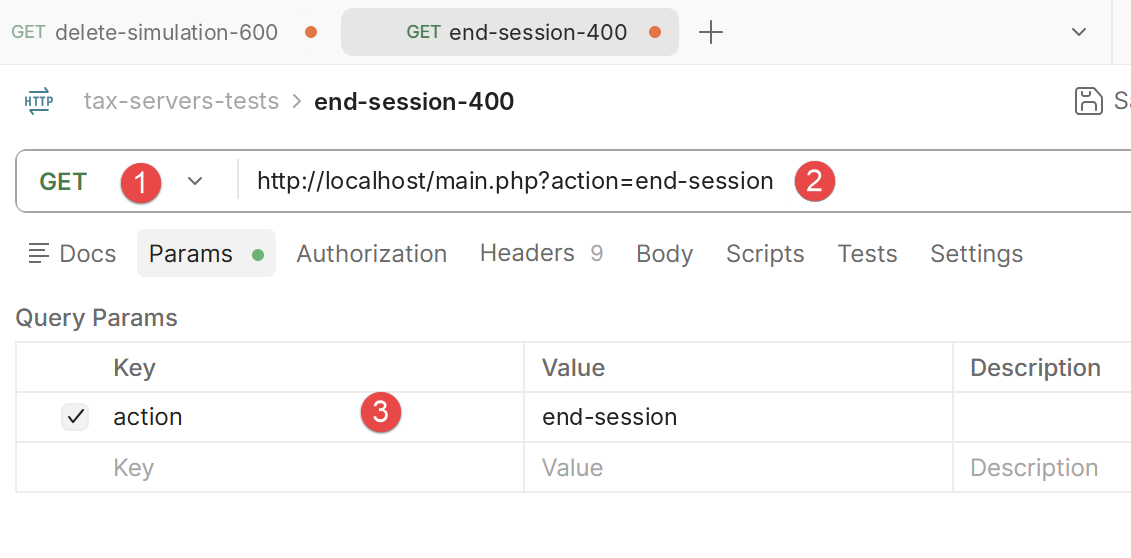 |
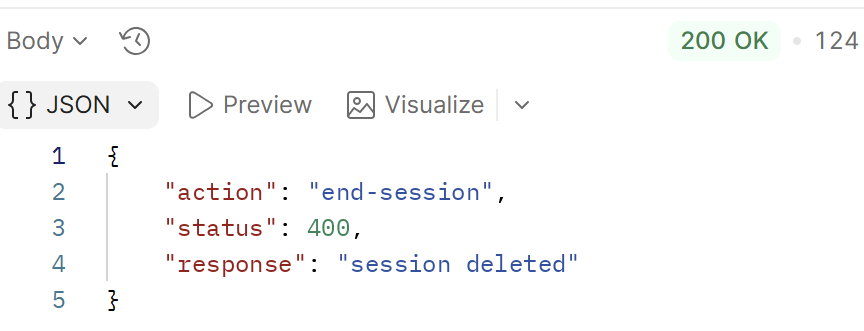
The query URL [1-2] has only the parameter [action] (3). The response JSON is as follows:
 |
4.6.2. curl Tests
We can also use the [curl] tool to test the server’s JSON services. All of the following requests use the same session, HTTP (the -b/-c cookies.txt option in curl preserves the session cookie between calls, just as a browser or Postman would):
Let’s start a JSON session with the [init-session] action:
Status code 700 confirms that the session has started—this is the same code that the PHP server returned. Now let’s authenticate using the [authenticate-user] action—a POST request, with a single parameter in the URL (action) and the credentials posted:
curl -b cookies.txt -c cookies.txt -X POST "http://localhost:3000/main.php?action=authenticate-user" \
     -d "user=admin&password=admin"
{
  "action": "authenticate-user",
  "status": 200,
  "response": "Authentication successful [admin, admin]"
}
You can now calculate taxes using the action [calculate-tax], again with POST with the three posted parameters: marital status, children, and salary:
curl -b cookies.txt -c cookies.txt -X POST "http://localhost:3000/main.php?action=calculate-tax" \
     -d "married=yes&children=2&salary=45000"
{
  "action": "calculate-tax",
  "status": 300,
  "response": {
    "married": "yes",
    "children": 2,
    "salary": 45000,
    "tax": 502,
    "surcharge": 0,
    "discount": 857,
    "reduction": 126,
    "rate": 0.14
  }
}
The values are exactly the same (€502 in tax, a discount of €857, a reduction of 126 €, and a rate of 14%) as those displayed in the browser in the previous section—the two versions, HTML and JSON, share the same calculation engine. The list of simulations is obtained using action [list-simulations], a simple GET:
{
  "action": "list-simulations",
  "status": 500,
  "response": [
    {
      "married": "yes", "children": 2, "salary": 45000,
      "tax": 502, "surcharge": 0, "discount": 857, "reduction": 126, "rate": 0.14
    }
  ]
}
Run the query [calculate-tax] several times by changing the posted values, then use [delete-simulation] to remove a simulation from the list (&number=x refers to its sequence number), and [get-admindata] to retrieve the entire database in the format JSON (tax brackets and calculation constants). Finally, end the session with the action [end-session]:
You now have a good understanding of the API and JSON exposed by the NestJS tax calculation server—which is exactly the same as that of the PHP server. We can now move on to writing Dart scripts that query this server.